Daily Cinema4D – DNA Helix!
Video of the representations!
Since I already had my workflow down for multiple representations of molecules from the polypeptide project (Link!), I put together a similar setup for a DNA B-helix. The representation set-up could easily be re-used because the XPresso works on centralized atom representations that can move with the controller, not on the individual instances making up the atoms within the peptide chains or the DNA helix molecules.
The Pieces
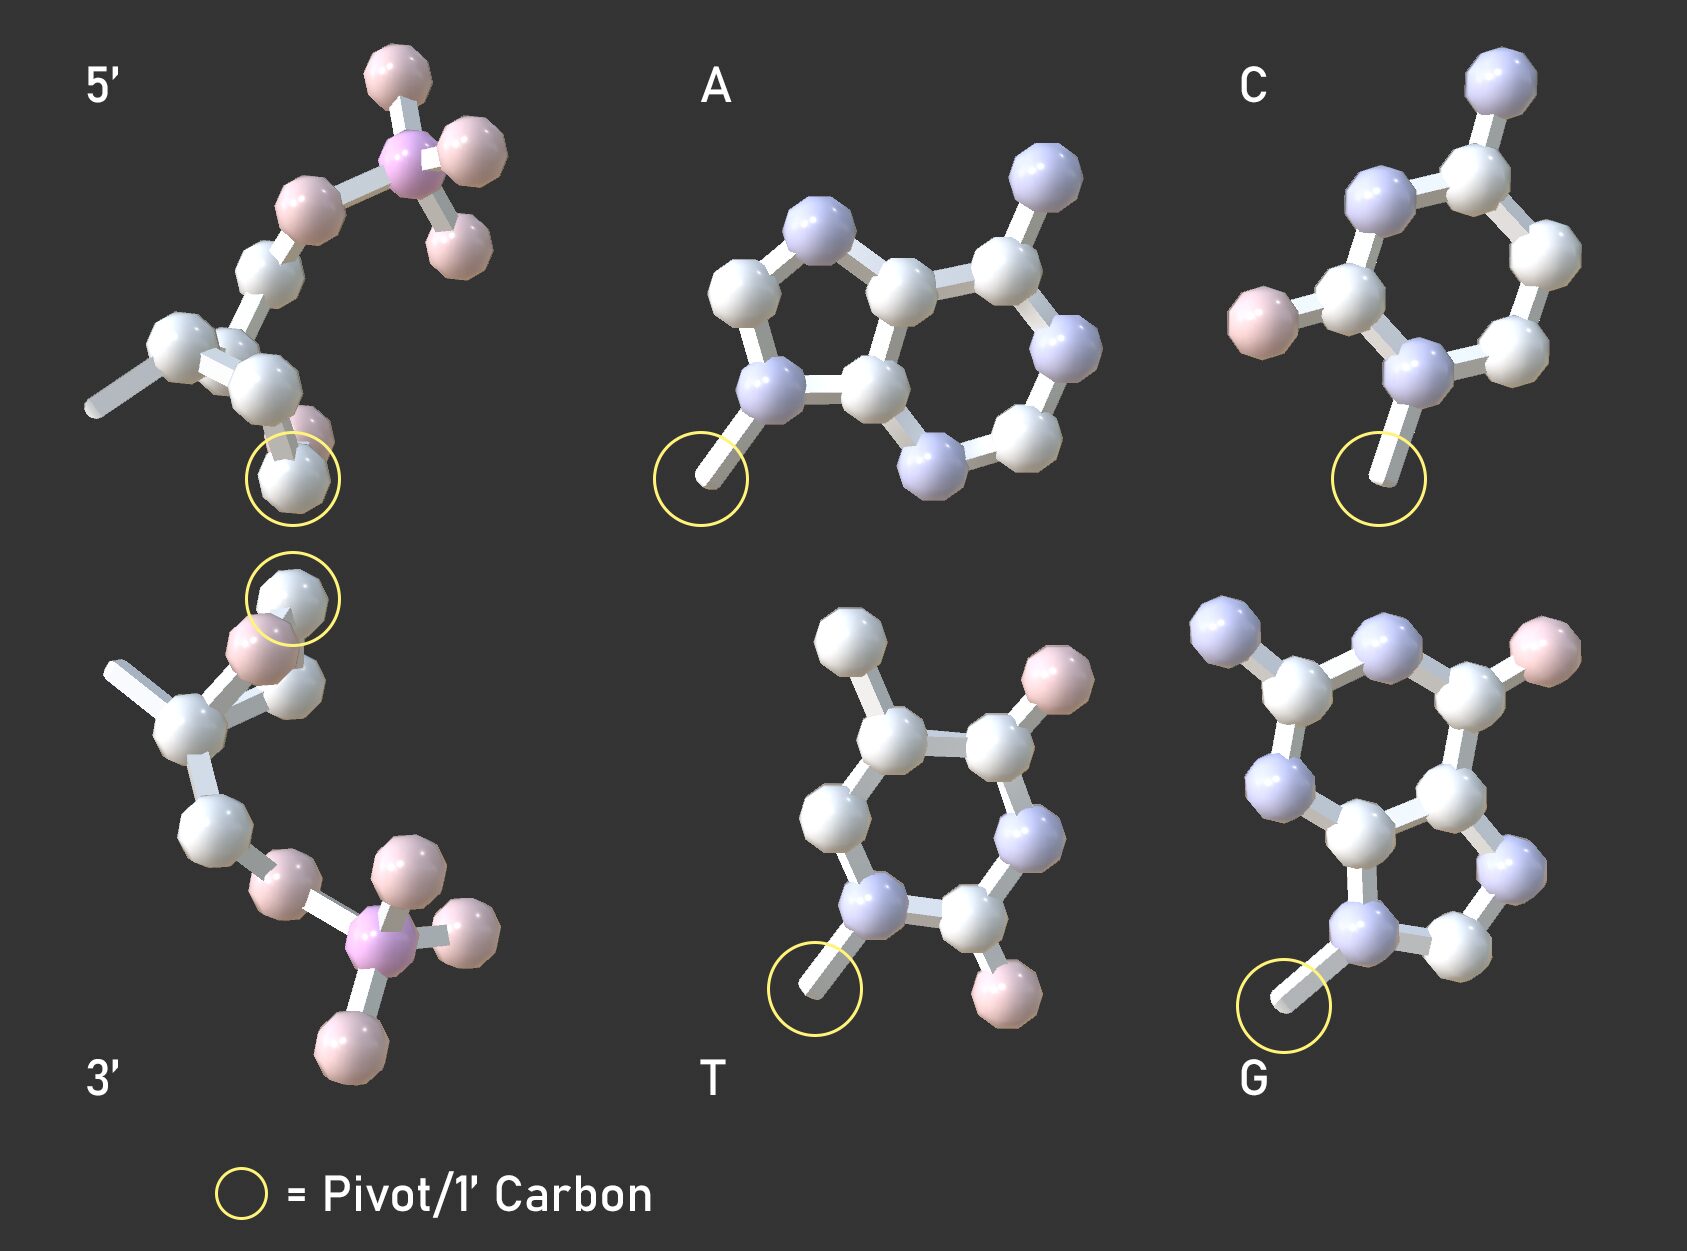
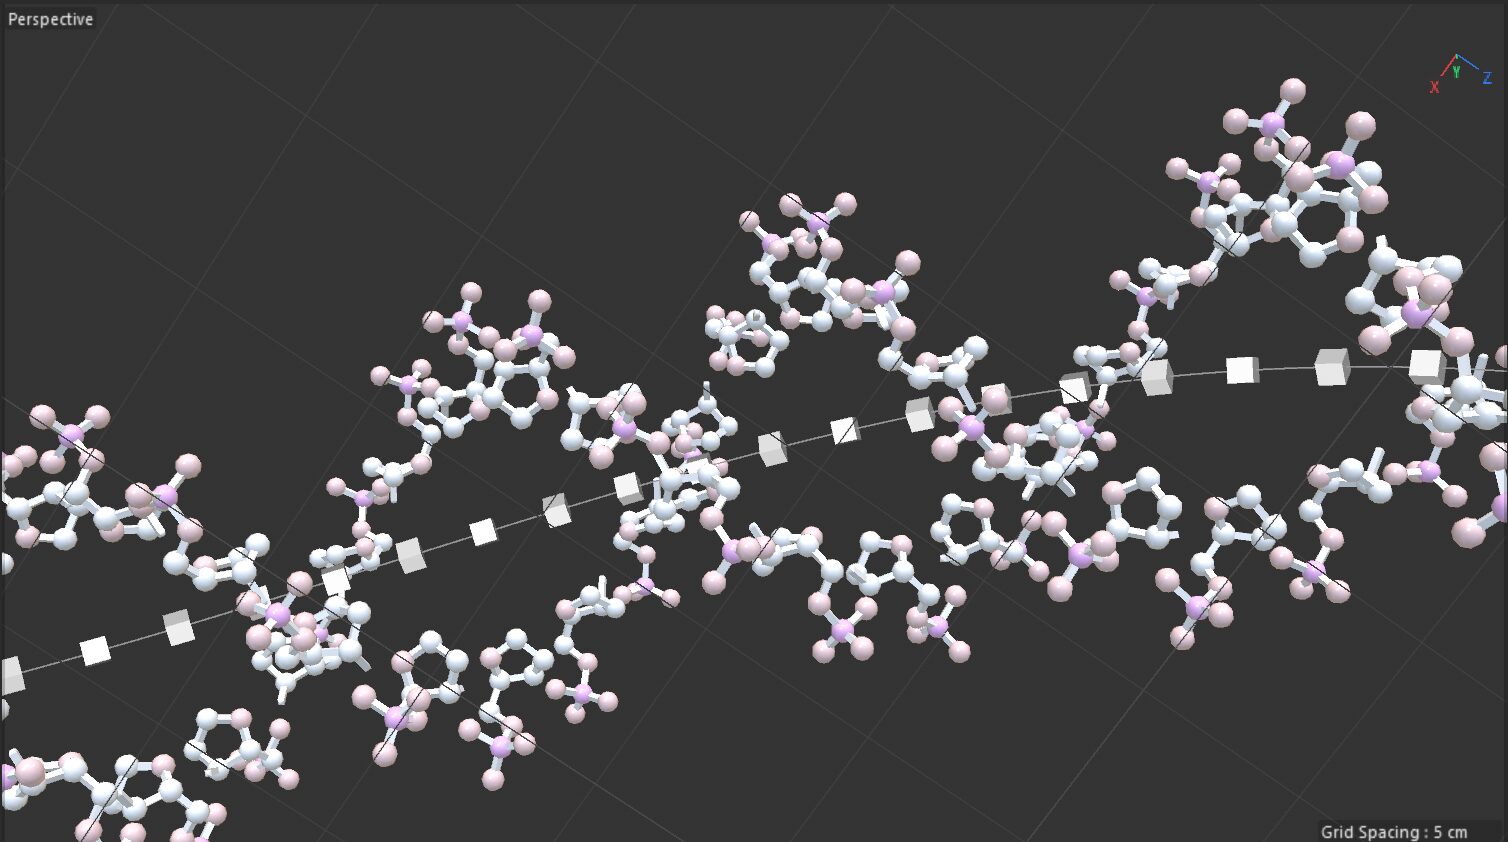
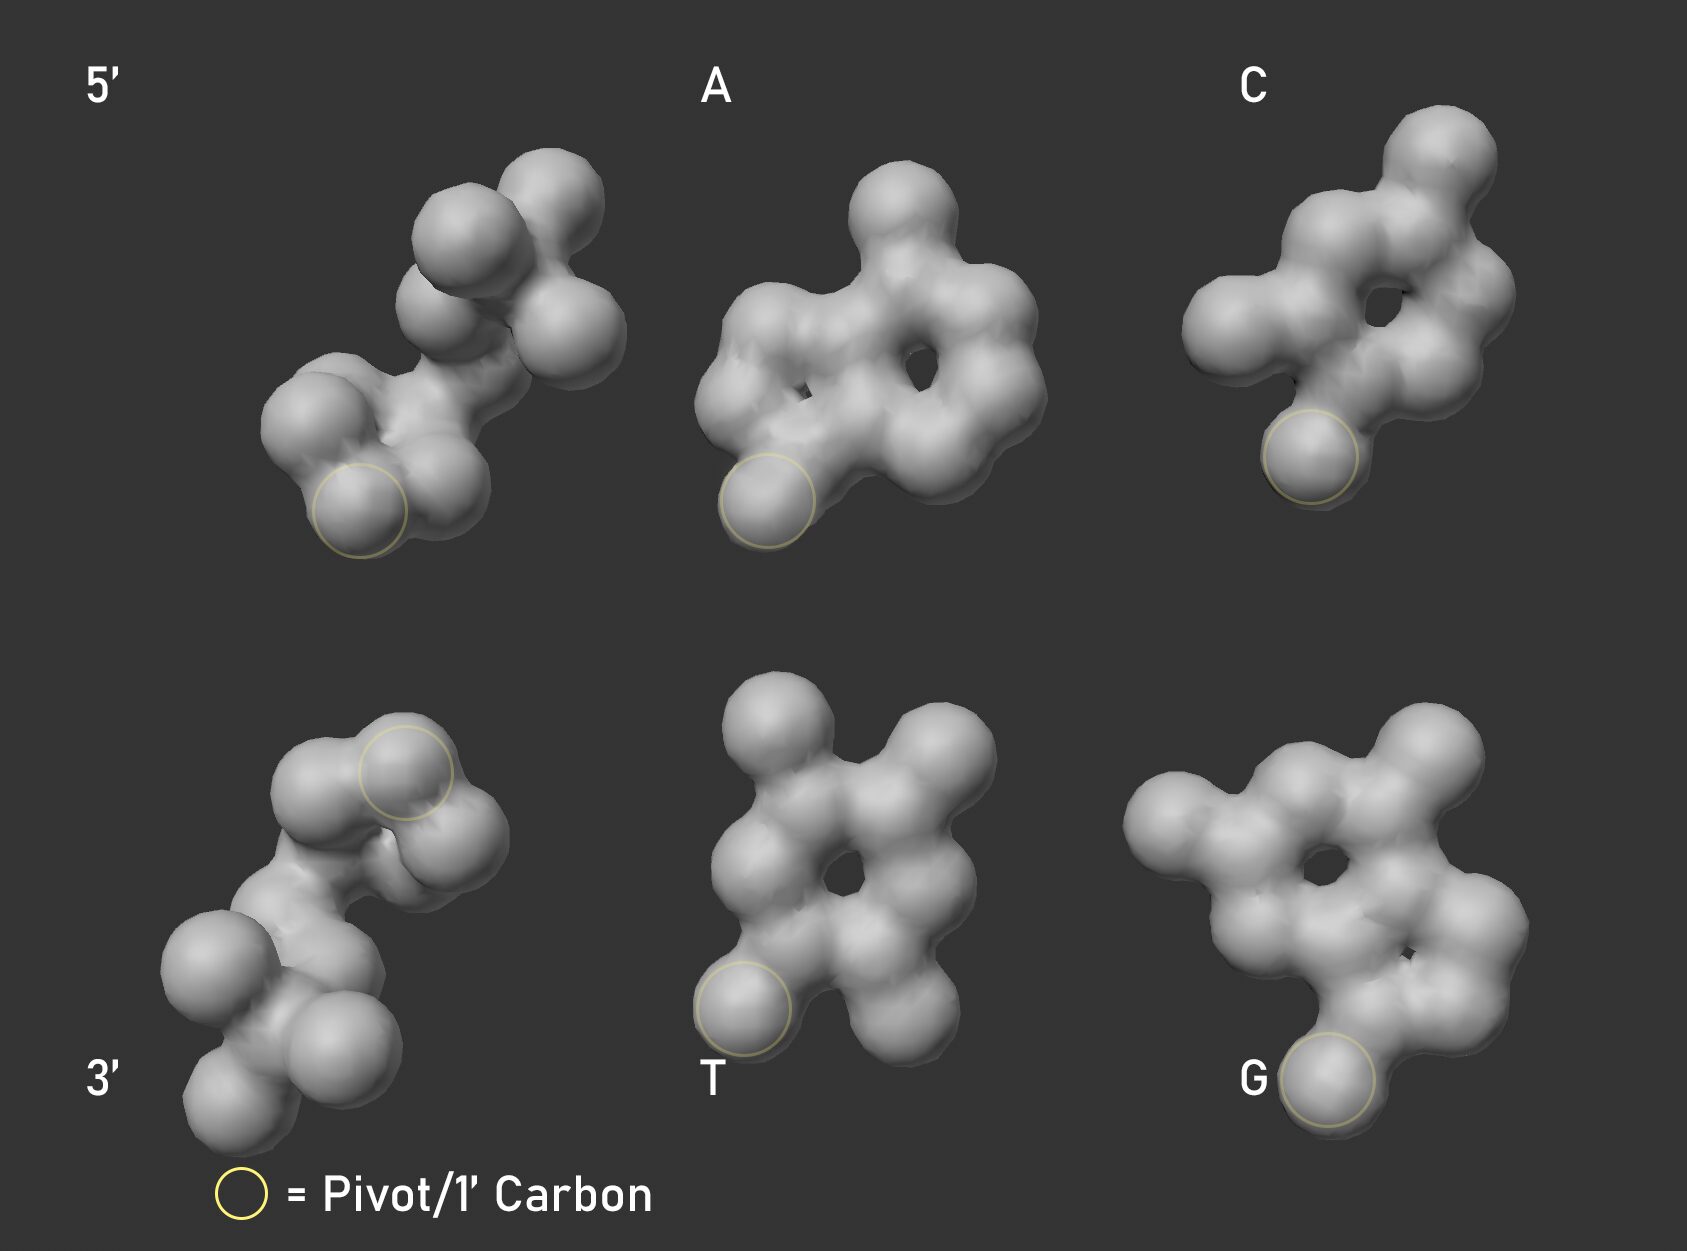
Individual pieces within the Cloner (Ball & Stick representation).
I started out like I did with the amino acids: isolating the atoms. I split out the bases, and this time , I split out the backbone as its own object instead of going atom-by-atom. I cut it at the C-O bond to keep the sizing even around both sides of the 1′ carbon, and set the 1′ carbon as the pivot for both the base and backbone. Then I made a flipped version of the backbone for the 3′ end.
Building the Backbone
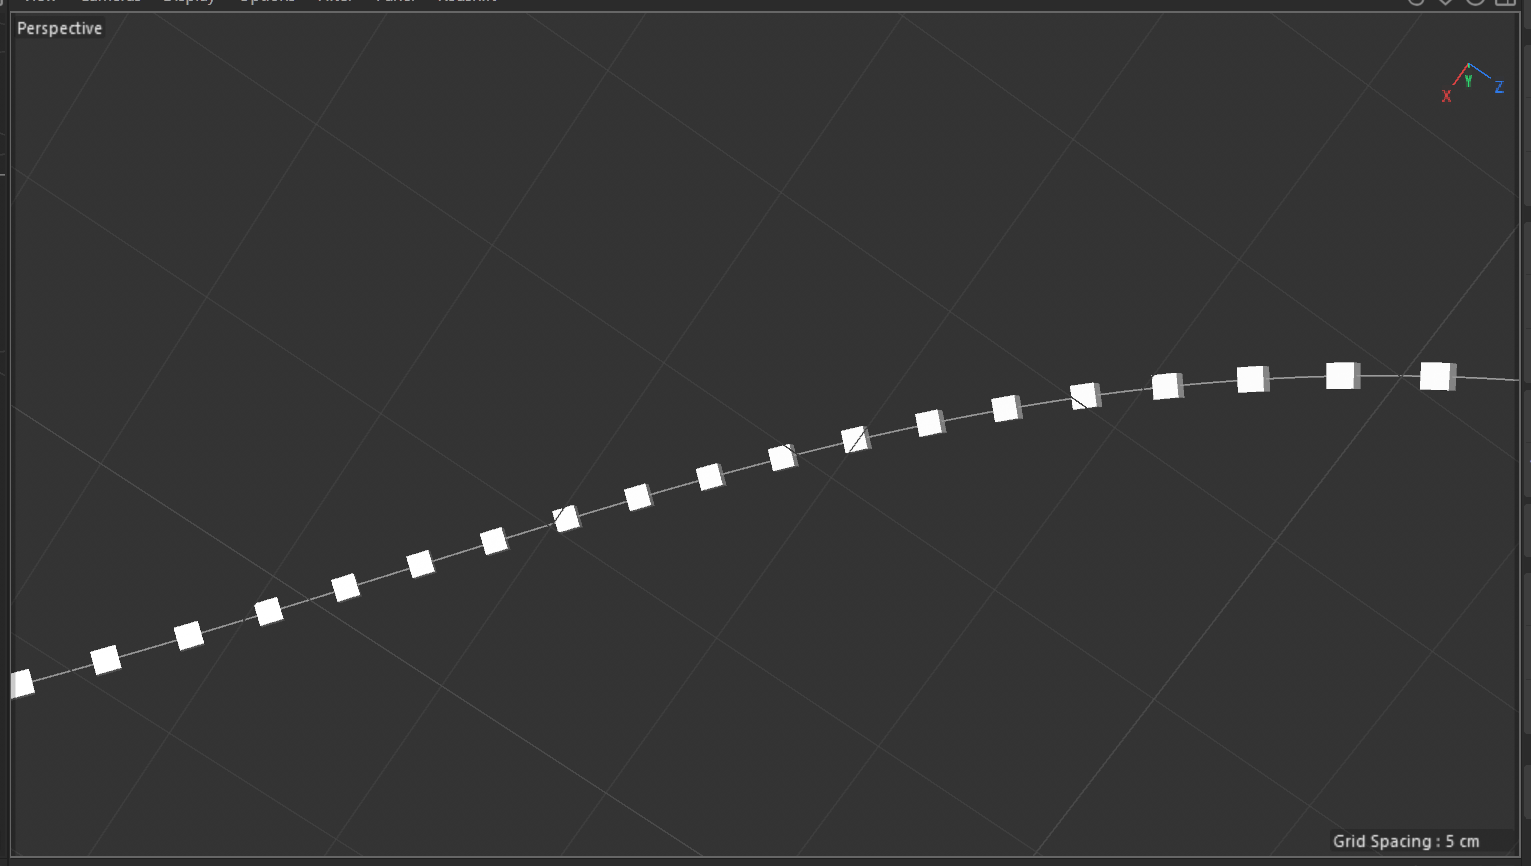
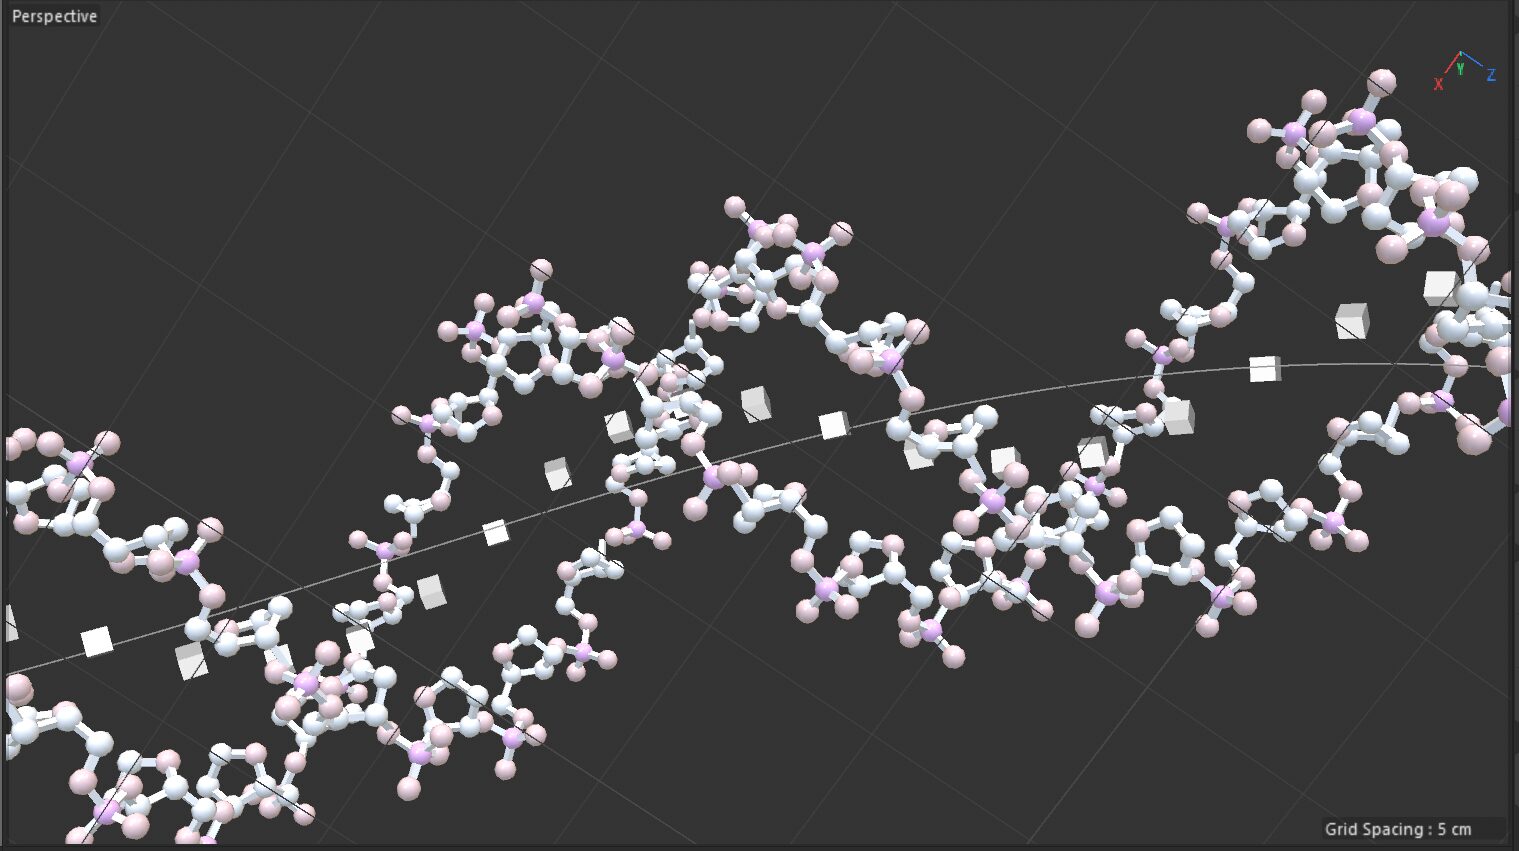
From there, I built everything off a single spline. Since I only needed one object per point this time, no cloner was necessary (unlike yesterday where I needed three). A matrix object referenced the spline, spaced at 3.4 Å per point (the distance between bases, or 1′ carbons).
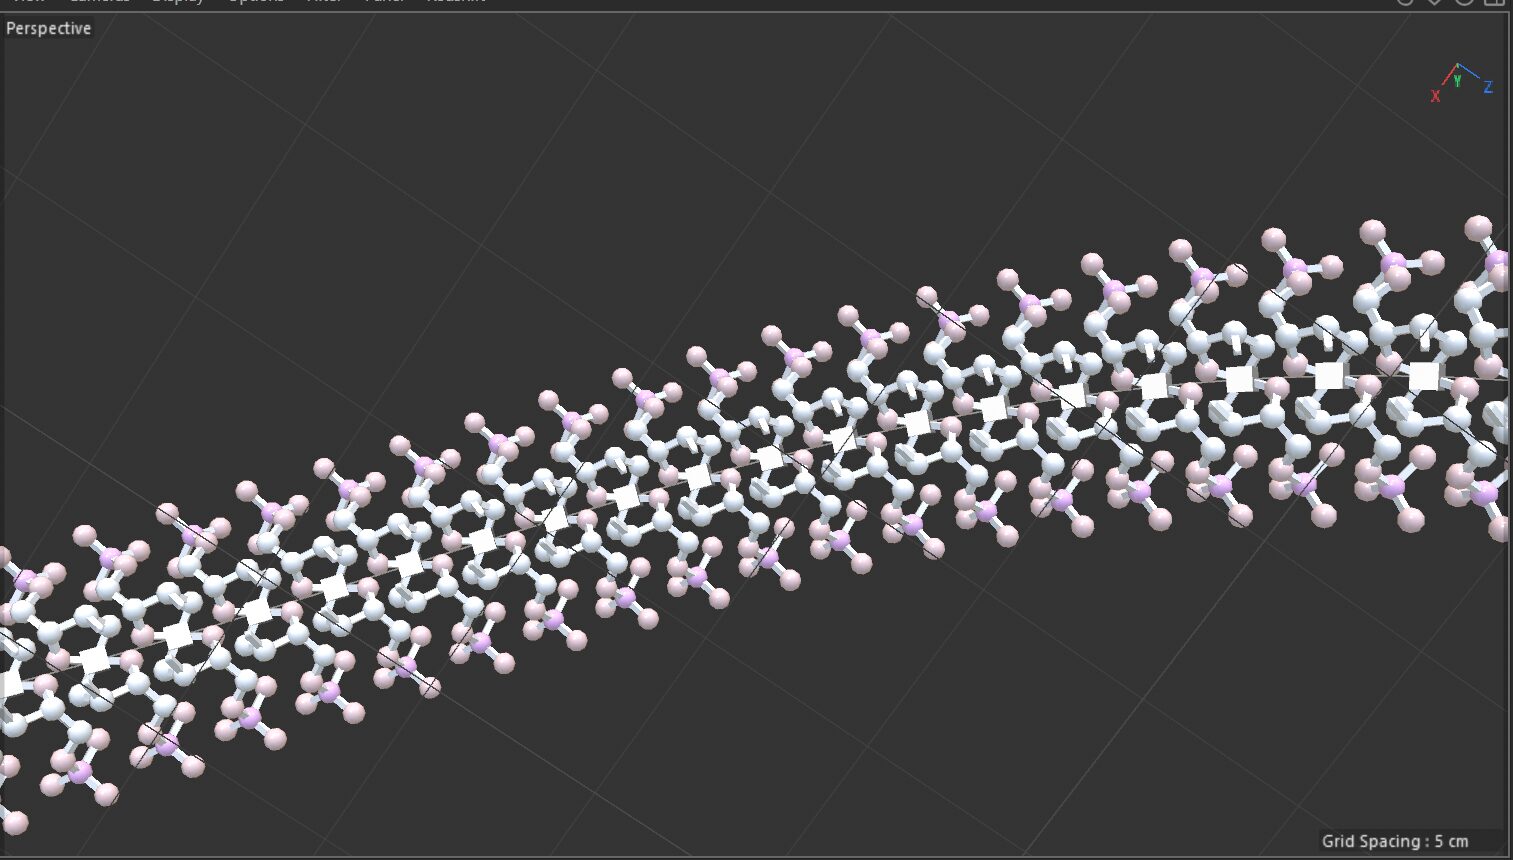
Then I made two cloners, one for the 5′ backbone and one for the 3′, both driven by the spline.
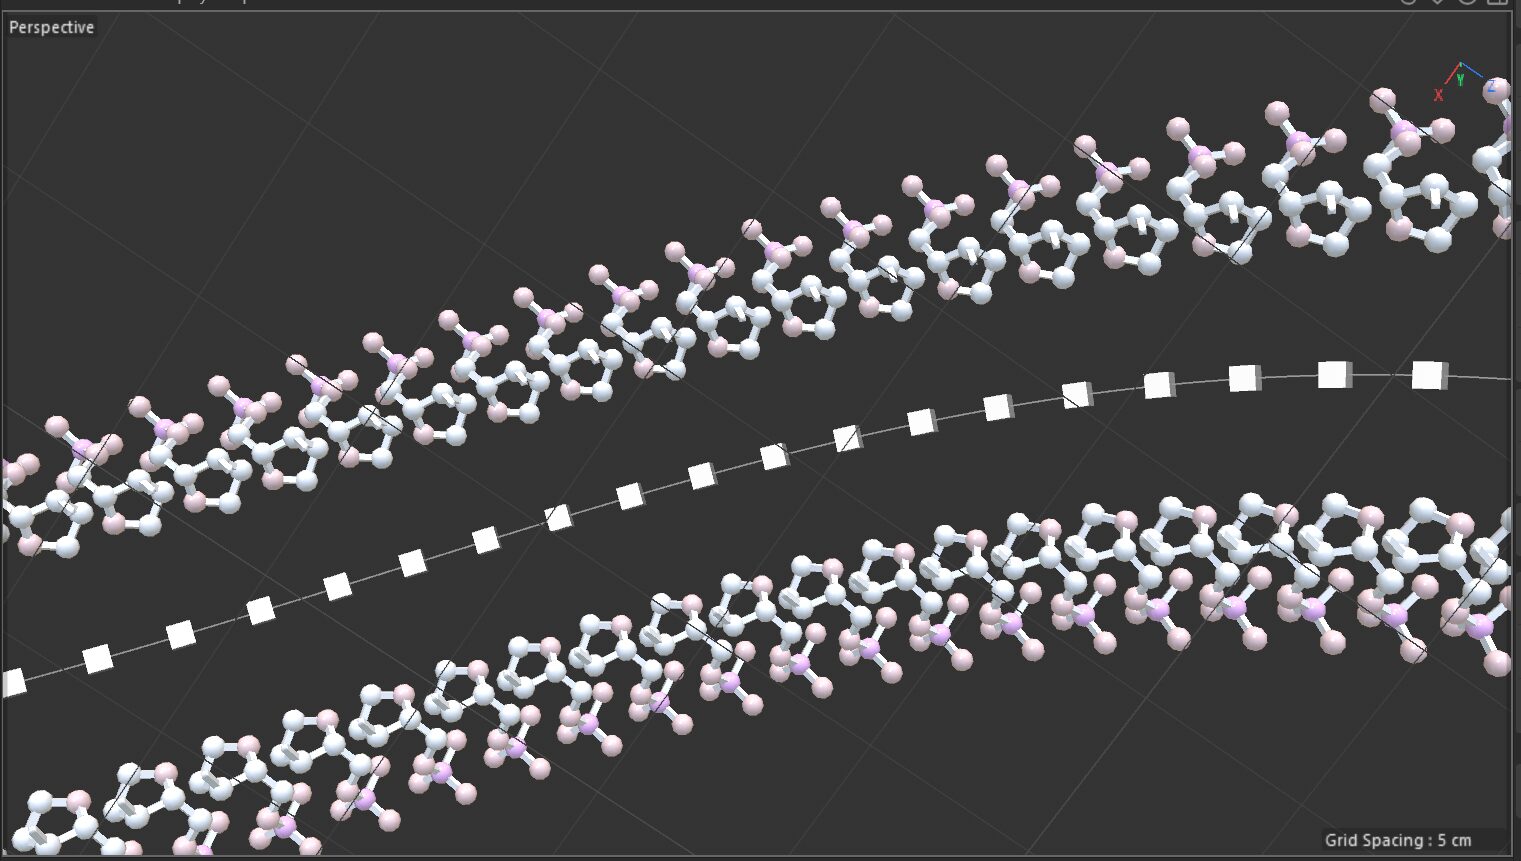
The DNA helix is about 20 Å wide, but because the pivot is at the 1′ carbon and the furthest oxygen sticks out 5.51 Å, I doubled that, subtracted it from 20, and got 8.976 Å. Splitting that distance in half gives 4.49 Å, so that became the actual backbone offset. I offset them with a Plain Deformer on each clone: +100% for one strand and –100% for the other.
Once that was set, I used a twist formula (provided by Veronica!) to rotate the backbone around the center.
To break the perfect 180° symmetry between strands, the matrix was shifted slightly inward/outward, which gives you the characteristic major and minor grooves.
Adding Bases
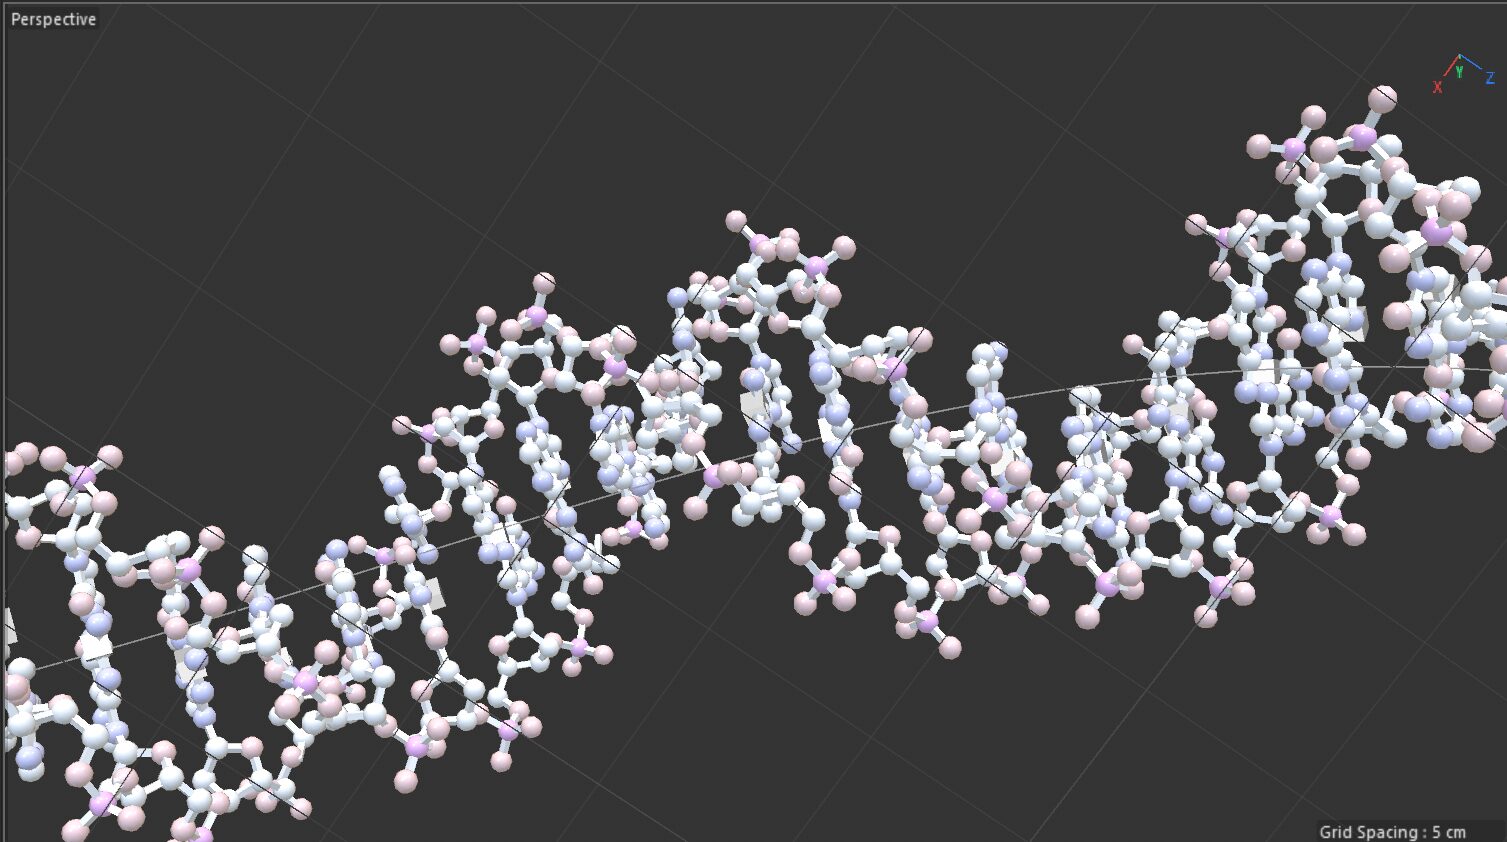
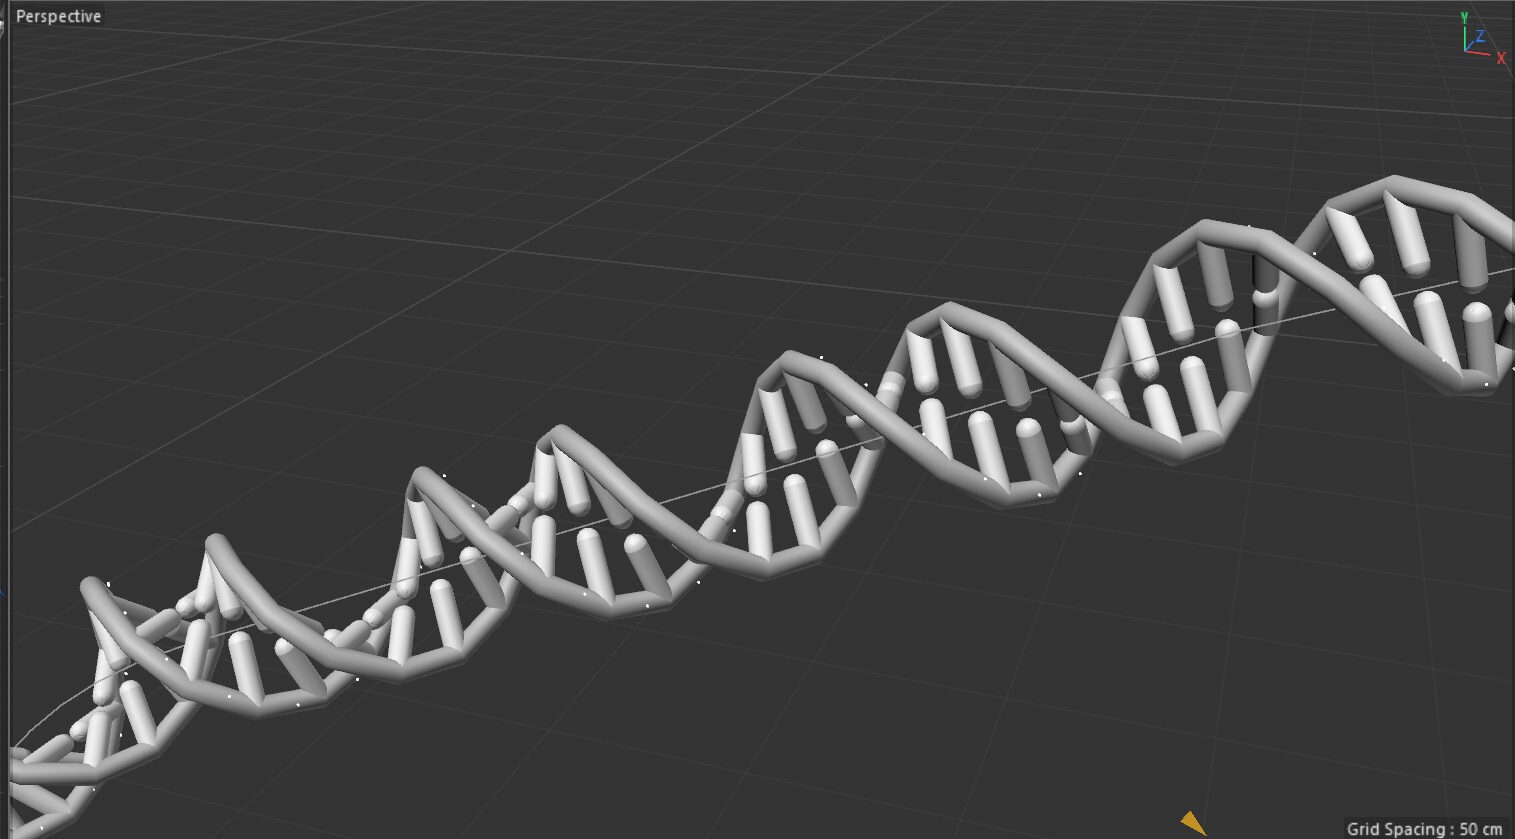
Full helix (Ball&Stick representation).
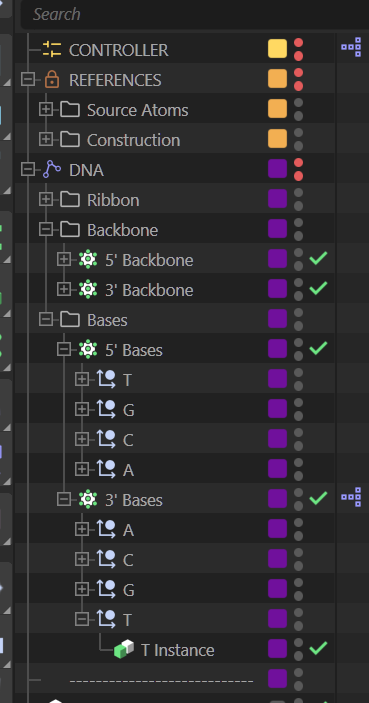
I did the same setup for the bases. Since they share the same pivot (the 1′ carbon), they were already aligned with the backbone, aside from flipping the 3′ side. Both cloners were set to Random, and I linked their seeds in XPresso so they’d always match. I just arranged their children in opposite order—A lines up with T, T with A, G with C, and C with G—so whatever the randomizer picked, the base pairs would always be correct.
Other Representations
Once that all worked, I hooked up my representations and cleaned up the file. I added two new ones this time.
First, a surface representation: since the point cloud with the volume mesher was getting laggy with so many atoms, I built a simple surface version of each base and backbone. It’s less flexible, but way more efficient. The point cloud version is still there if you need the extra detail.
Second, a ribbon representation: since I’d originally built the helix around the inner backbone instead of the “average” one, I made new cloners with just a null at the backbone position and a swept spline for a base. Instead of offsetting them by ±100%, I pushed them out to ±167% (7.75/4.49 Å), then used a Tracer to connect all the nulls into smooth backbone ribbons.

