Daily Cinema4D – (Poly)Peptide Chains!
Video of the representations!
Let me share my latest C4D experiment!
I just finished a peptide chain generator for Veronica Falconeri, who I was interning with. She wanted a disordered amino acid chain that could follow a spline so she could build disordered regions or linking chains. It needed to be animatable and support different visual representations. I, of course, wanted to over-engineer something. Our goals were (loosely) aligned.
The Amino Acids
Amino Acids
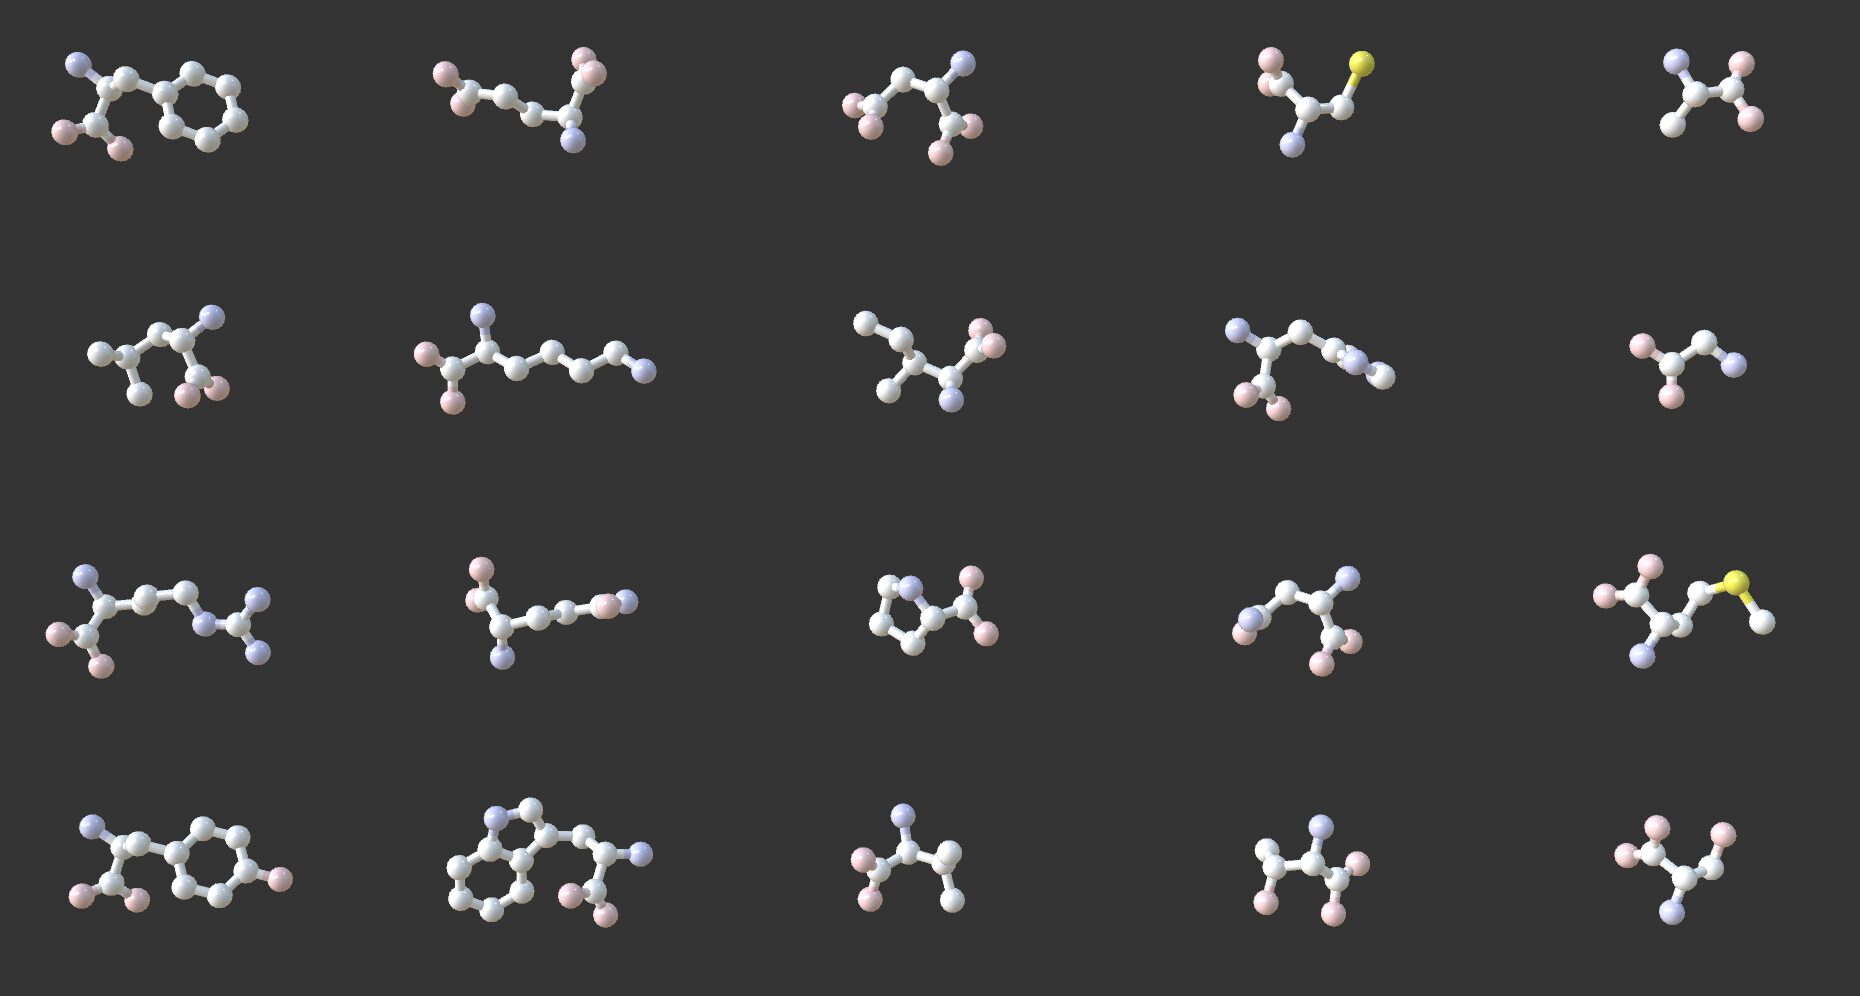
These were fairly straightforward. I used ePMV (embedded Python Molecular Viewer) to bring in each amino acid (L) at the correct scale with a ball-and-stick visualization. I deleted all the sticks, reorganized the atoms in the hierarchy, connected each atom with a tracer, and then set things up so I could easily swap representations.
Basically, I replaced each atom with an instance referencing a folder (e.g., “Carbon”), and that folder contained the ball-and-stick version, a scaled reference atom, or nothing (for point cloud or wire representations). The tracers all fed into a Connect in a Sweep, referencing the same base circle. This made it easy to rig up different visualization modes.
Video of the amino acids’ representations being controlled by the XPresso/UserData controller.
All the prep work was handled in XPresso, and I was able to reuse that setup later in this project and in others.
The way visualization control worked, I usually only needed to toggle the reference objects (for example, the ball-and-stick mode only switches one sphere). But some modes (like point cloud, where tracers needed to be off to avoid being picked up by a volume) required iterating through a lot of objects.
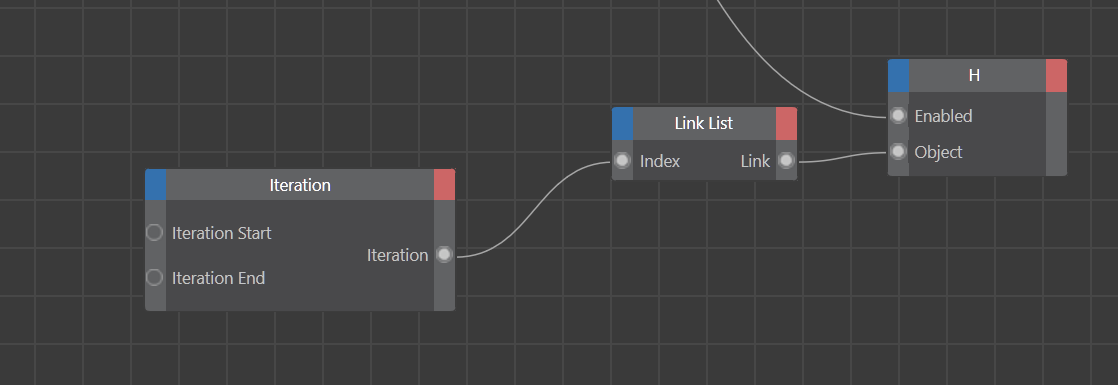
In XPresso, the Iteration node was perfect for that: you feed it a range (starting at 0, since computer science loves zero indexing), put your objects into a Link List node, and then wire the logic to an “example” object. Whatever you do to the example, it applies to all objects in the list. Super handy, and kept my XPresso setup clean.
Building the Backbone
A few things to consider:
1. The backbone itself is pretty standard – the ω (omega) angle between N-C is usually 180°, with very little wiggle room.
2. The φ/ψ (phi/psi) angles can vary a lot.
At first, I wanted to inject more variability here. I wrote a Python script to generate a linked list of backbones bending around the αC, which gave me some cool results. Honestly, that deserves its own post – it was fun but ultimately not the solution for this project. The main problem was getting it to follow a spline while still keeping some φ/ψ randomness. That experiment is still on the shelf for now.
Instead, I went back to a cloner-on-spline approach.
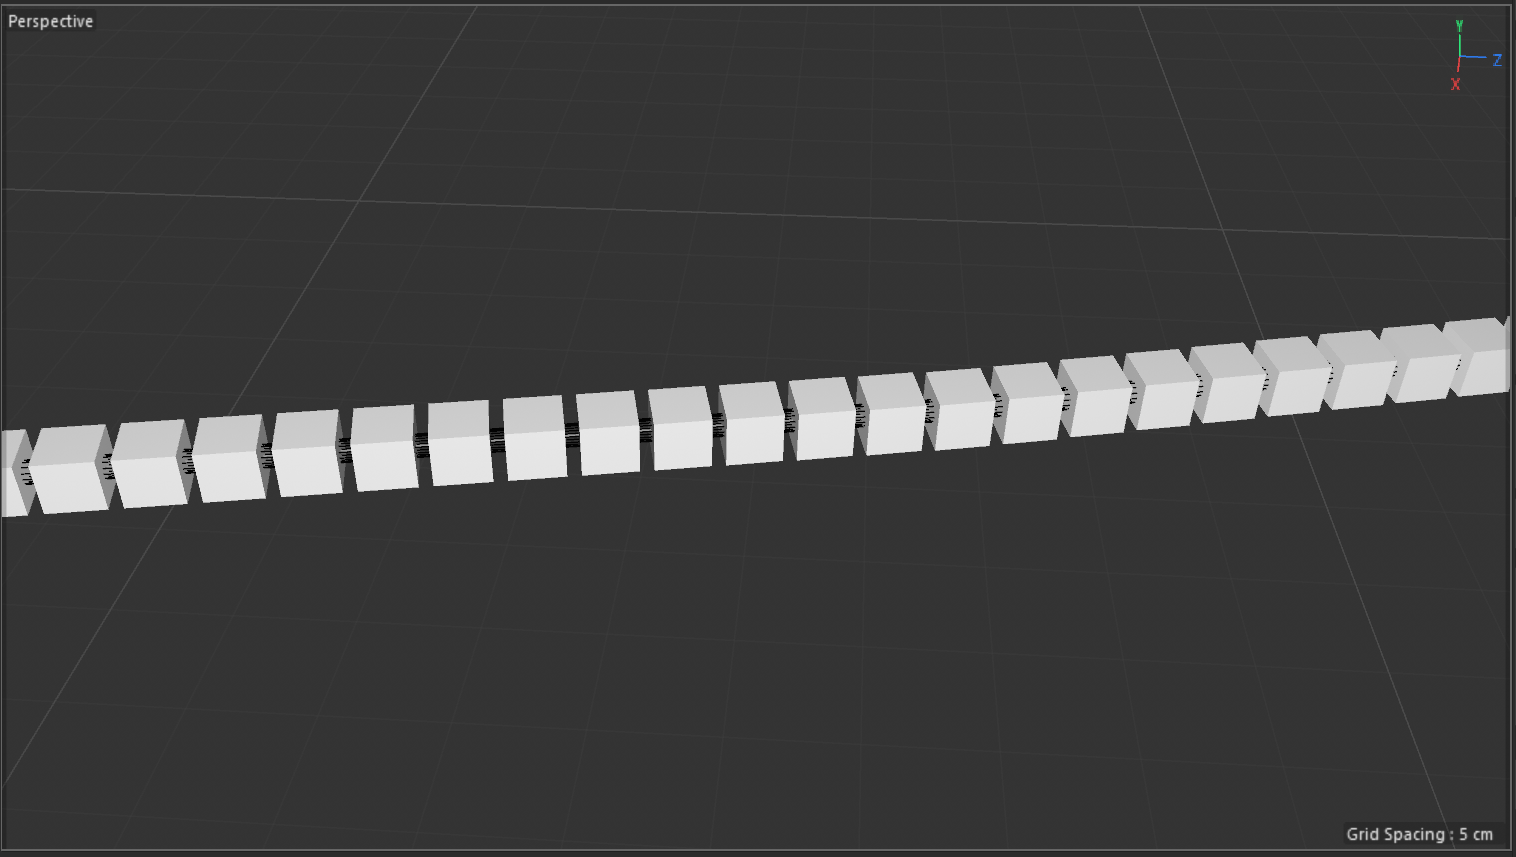
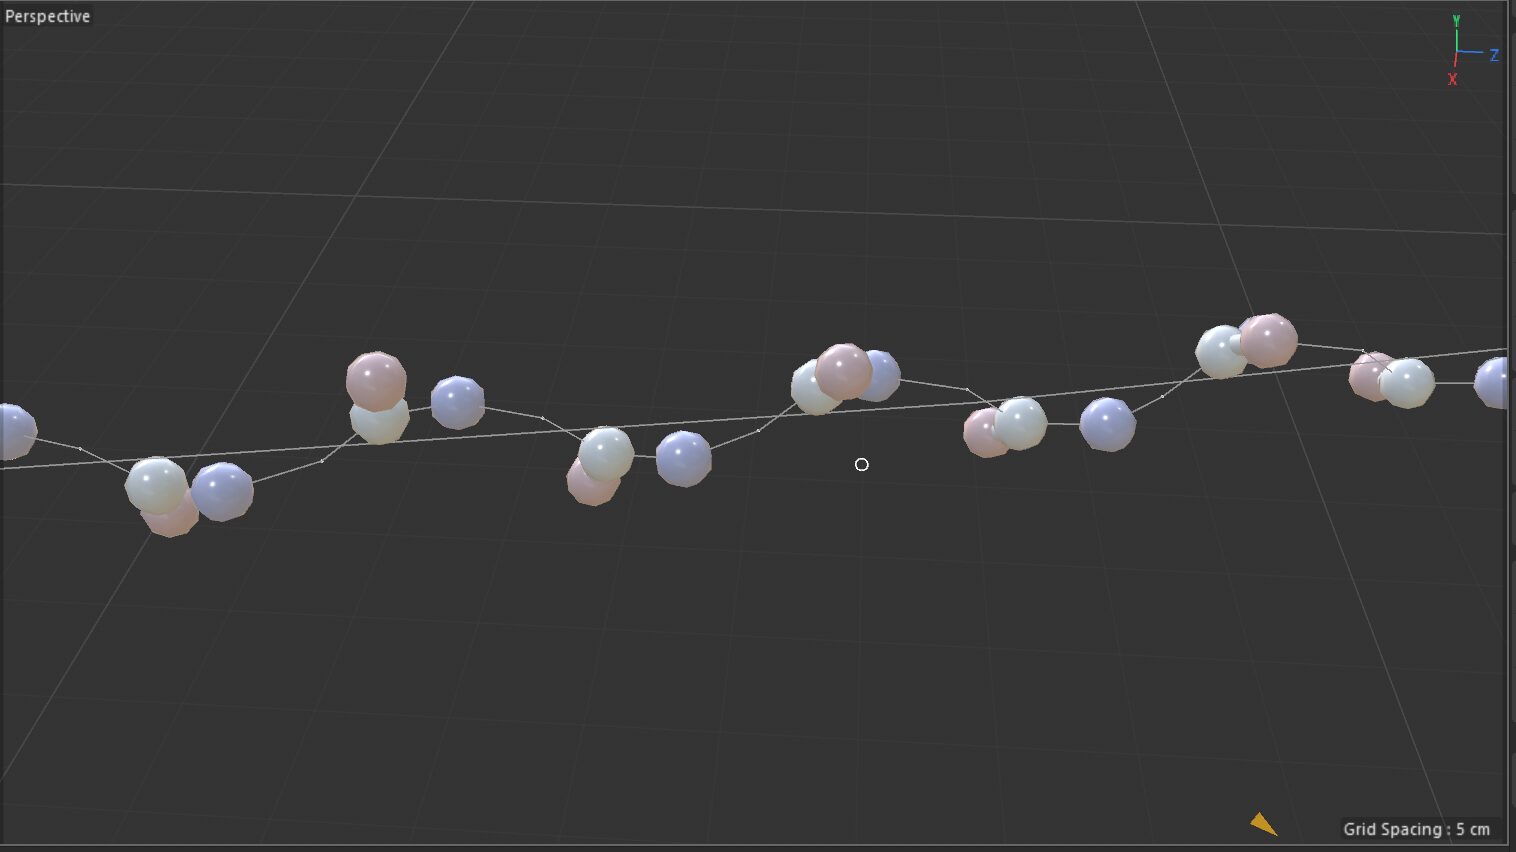
I built a cloner with three nulls: one each for αC, carboxyl, and N. Each null was referenced by a Matrix object. The cloner spacing was set so that each step (3.741 Å, the backbone spacing) was divided by three, i.e. 1.247 Å per null.
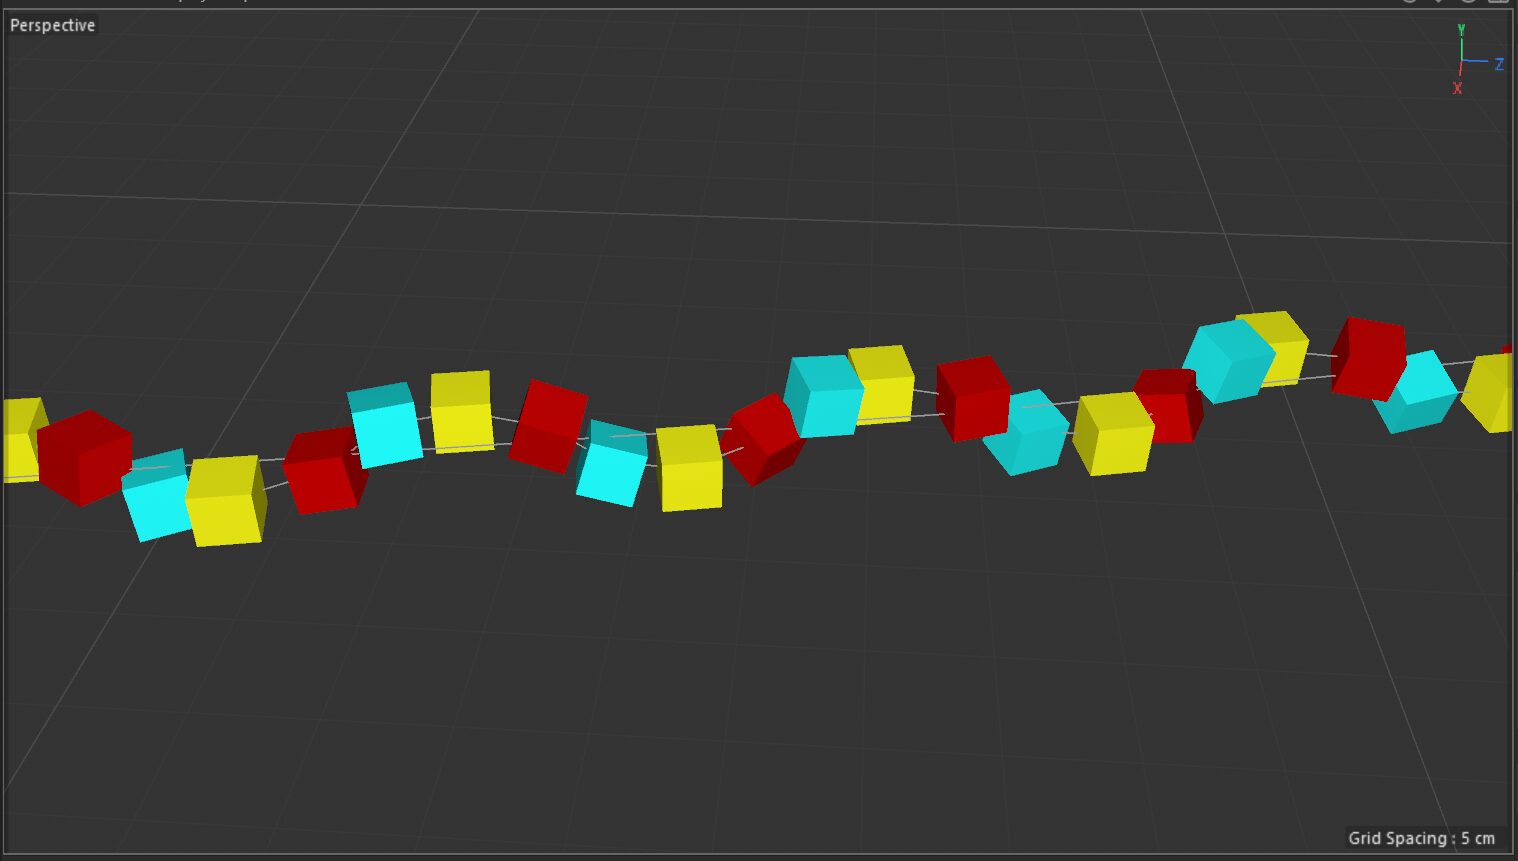
Then I used Plain Effectors with mod formulas to offset each atom (alternating 180 and -180) so they aligned correctly relative to each other (red = αC, blue = carboxyl, yellow = N).
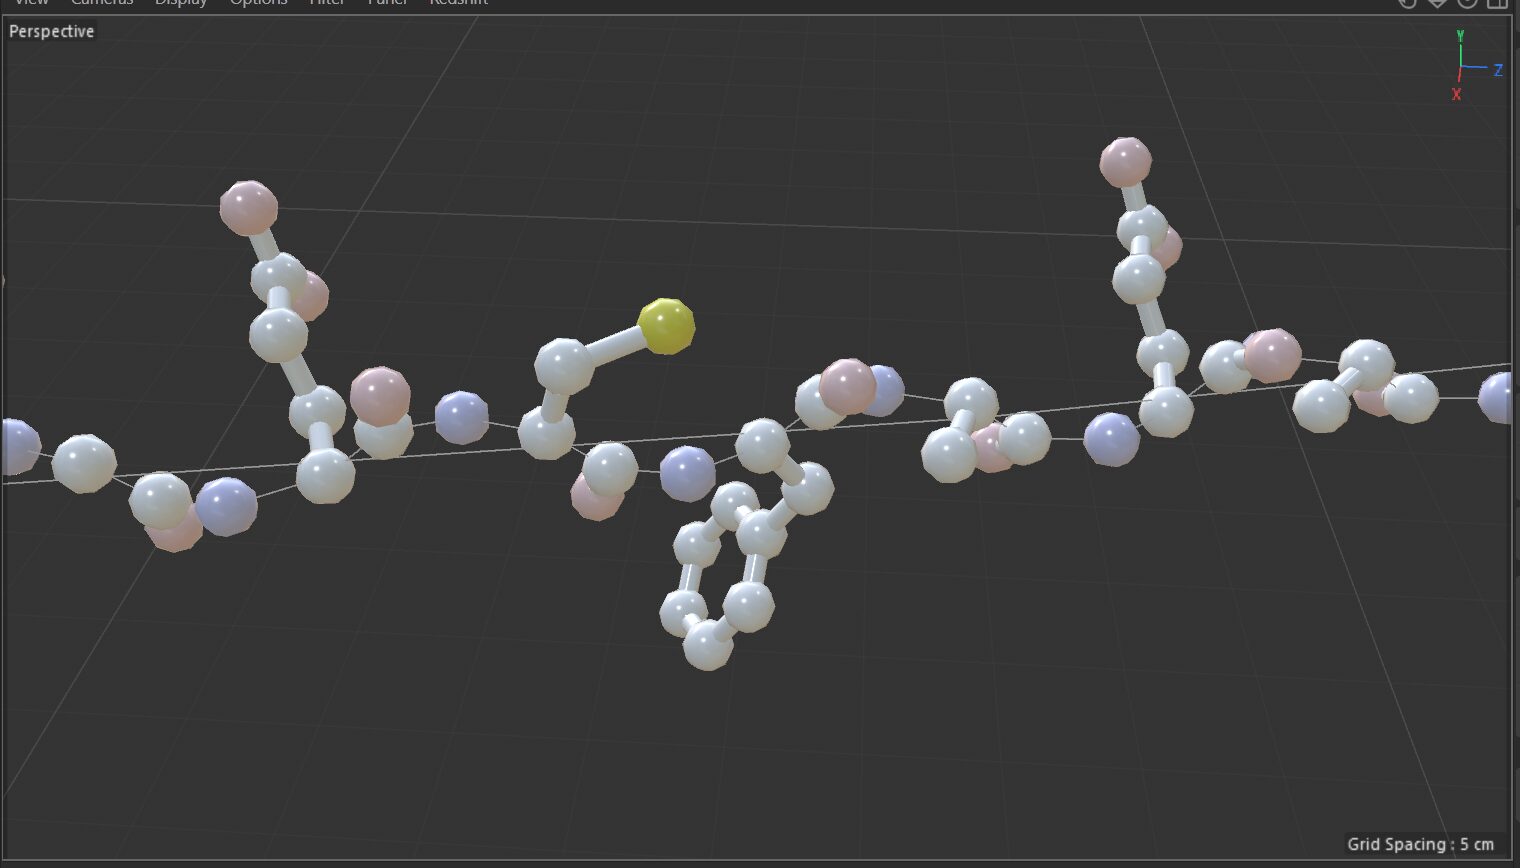
From there, I pulled the carboxyl group and the N (with hydrogens) from my amino acids and set up cloners for each, referencing their respective matrices so they populated along the spline.
(Small note: I could’ve just used a matrix for αC and left N and CO in the cloner directly, but I needed all three to be the same instance type. Some things only worked as instances, others only as render instances, so keeping them consistent avoided headaches.)
For the αC, I went back to my amino acids, stripped the backbone, and left just the αC with its R-group. Then, referencing the backbone cloner’s matrix, I made another cloner set to “Random” so it would place random R-groups on each carbon. Unused R-groups can just be moved out of the cloner so they won’t show up.
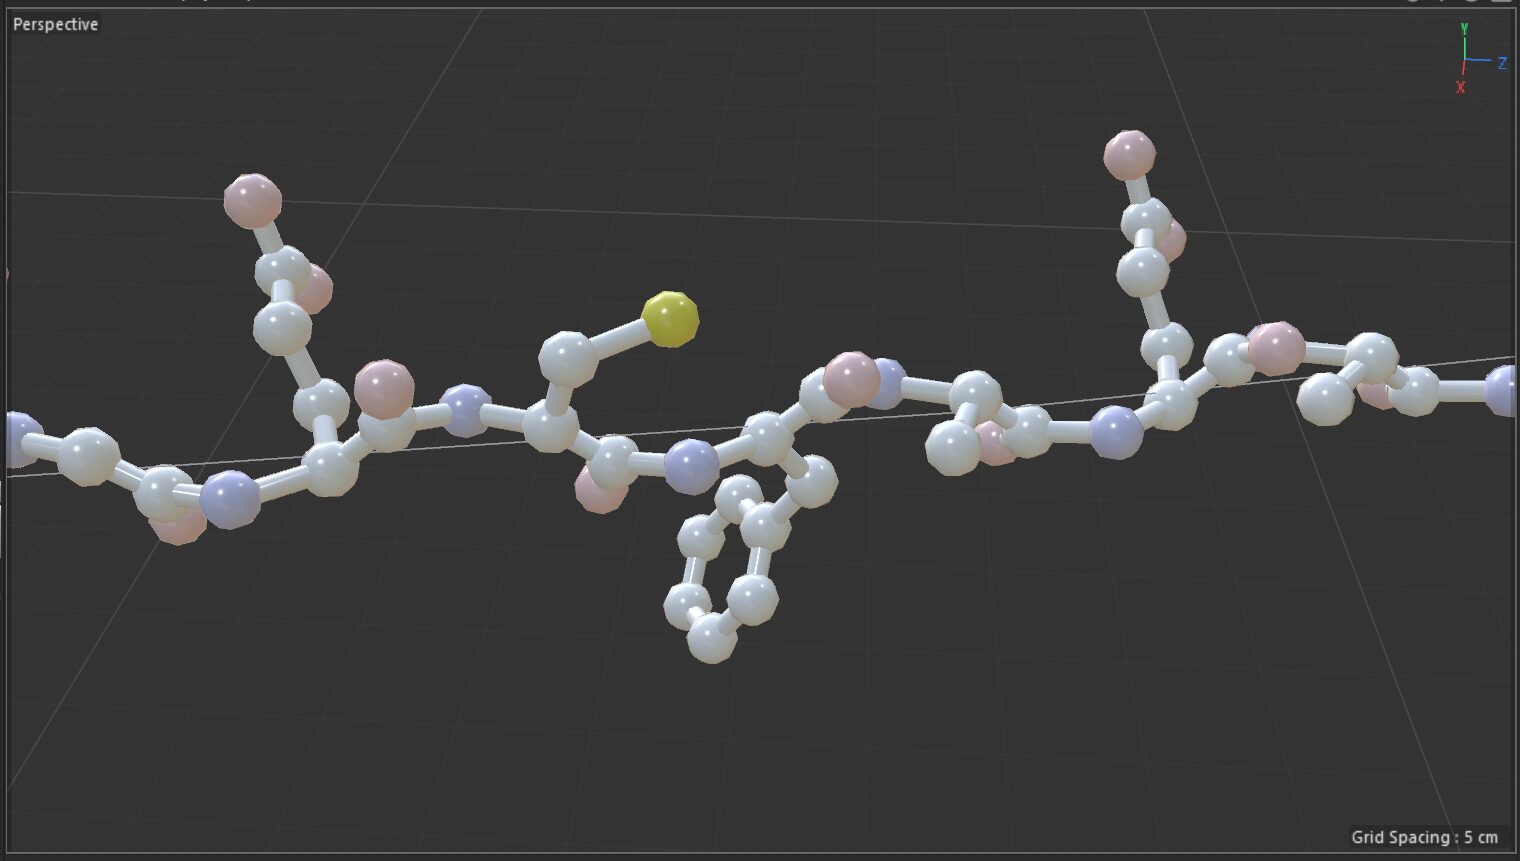
To connect the backbone in ball-and-stick or wire mode, I added a tracer that followed the elements of the first cloner (the nulls) and referenced the same source as the R-group tracers.
Wrapping It Up
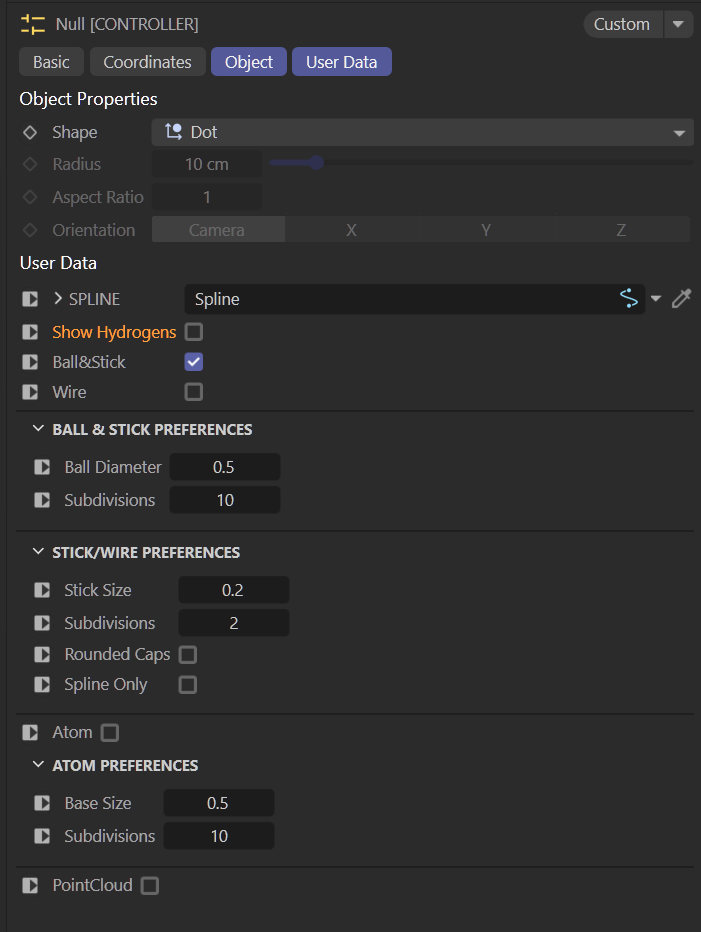
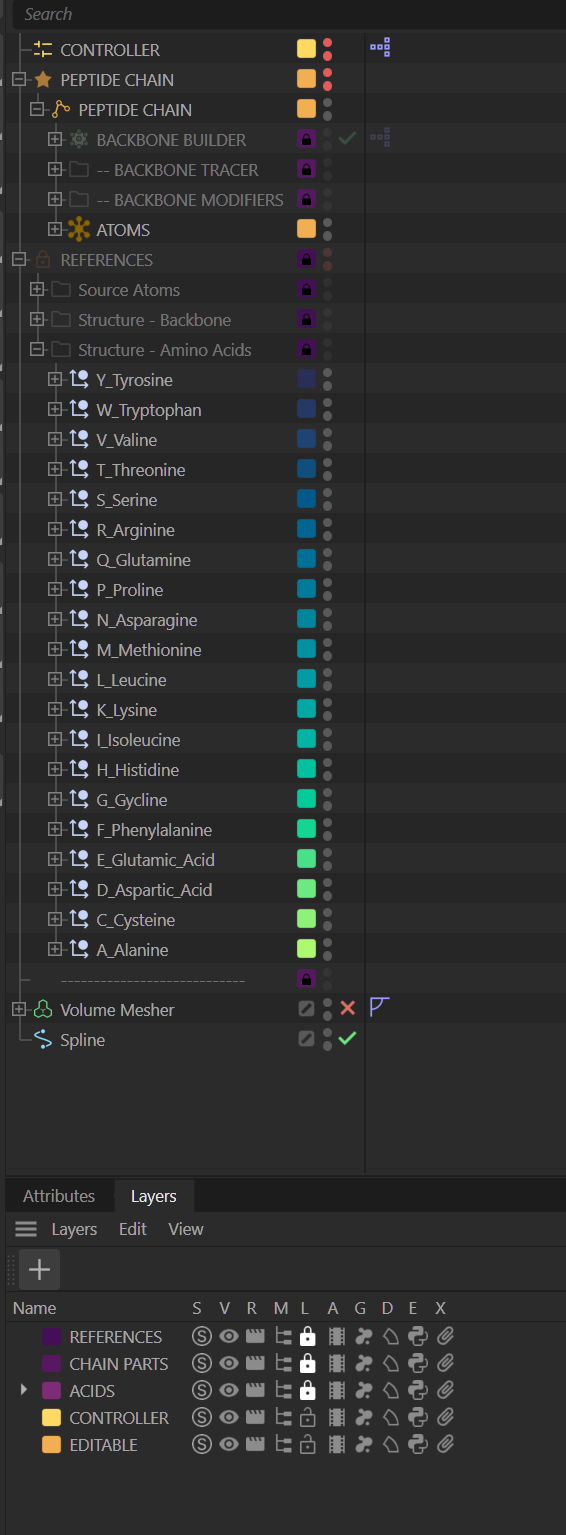
The file looks complicated because of all the references and nesting, but I organized it with layers – locking down what shouldn’t be edited – and exposed the spline control through User Data, so you never have to touch the cloner stack. I also wasted time making a pretty gradient for each amino acid group. Completely unnecessary, but it made me happy.
The end result: a single spline generates a peptide backbone with controllable amino acids (usually glycine or alanine, though they’re all available). You can switch representations, toggle hydrogens, animate the spline, and even add vibrate tags to wiggle individual atoms (like hydrogens) without breaking the backbone. It’s flexible, art-directable, and probably over-engineered, but in a good way.
Tomorrow, I’ll share my DNA setup, which uses a similar approach!
UserData Controller options.

