Daily Cinema4D – Overgrown Pustules
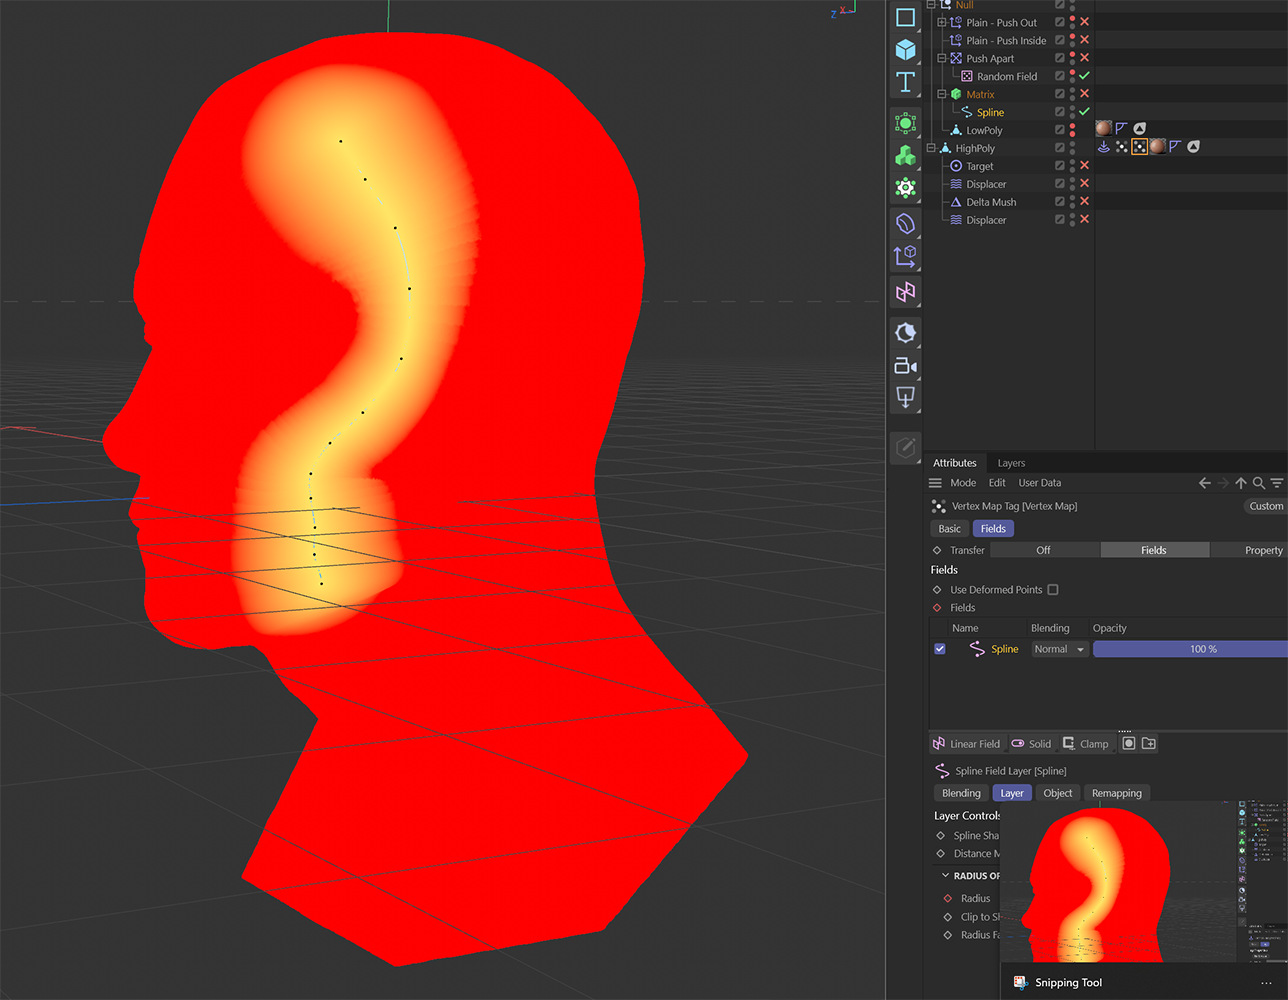
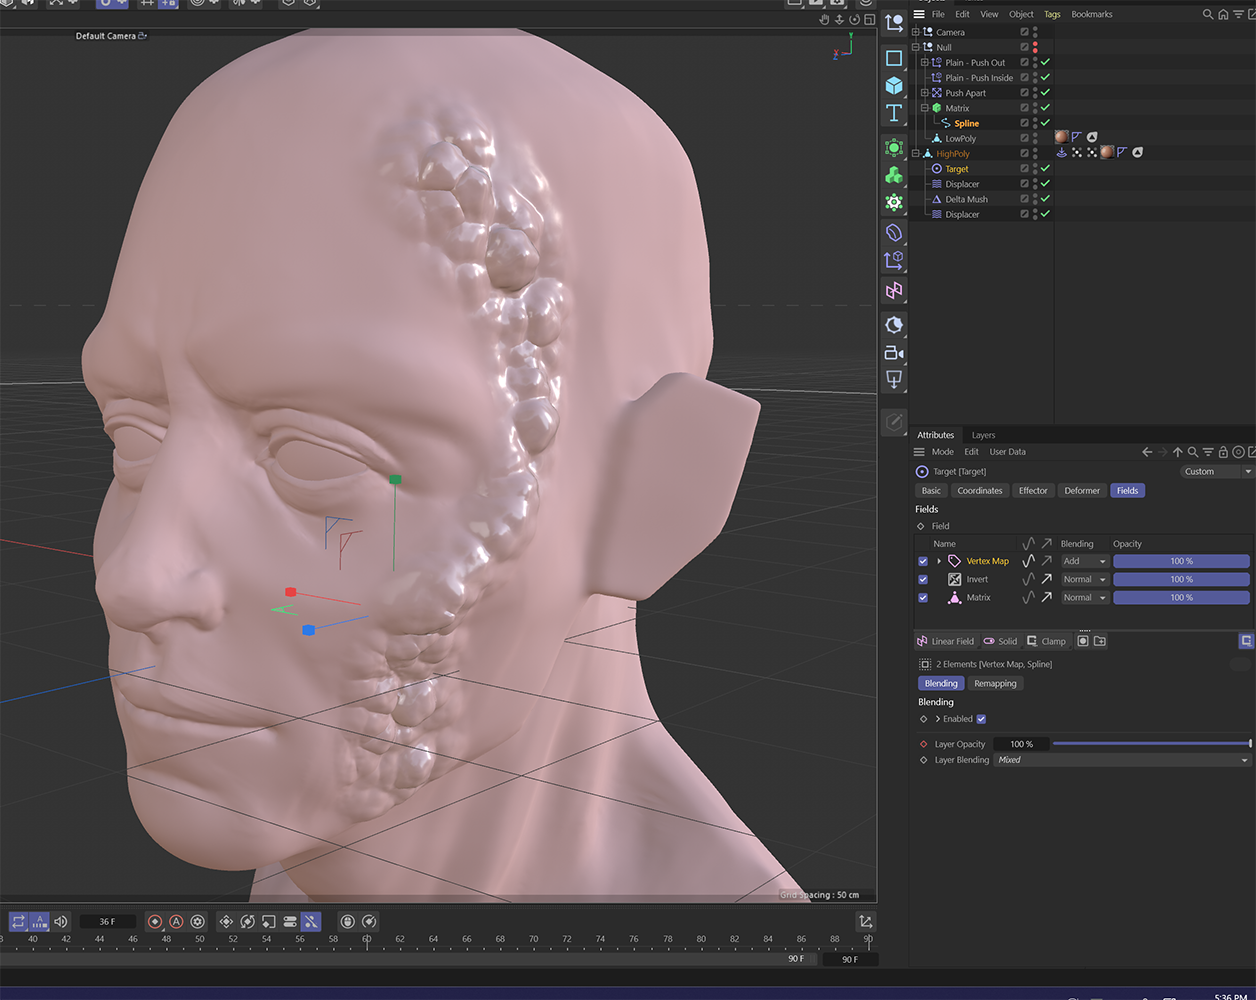
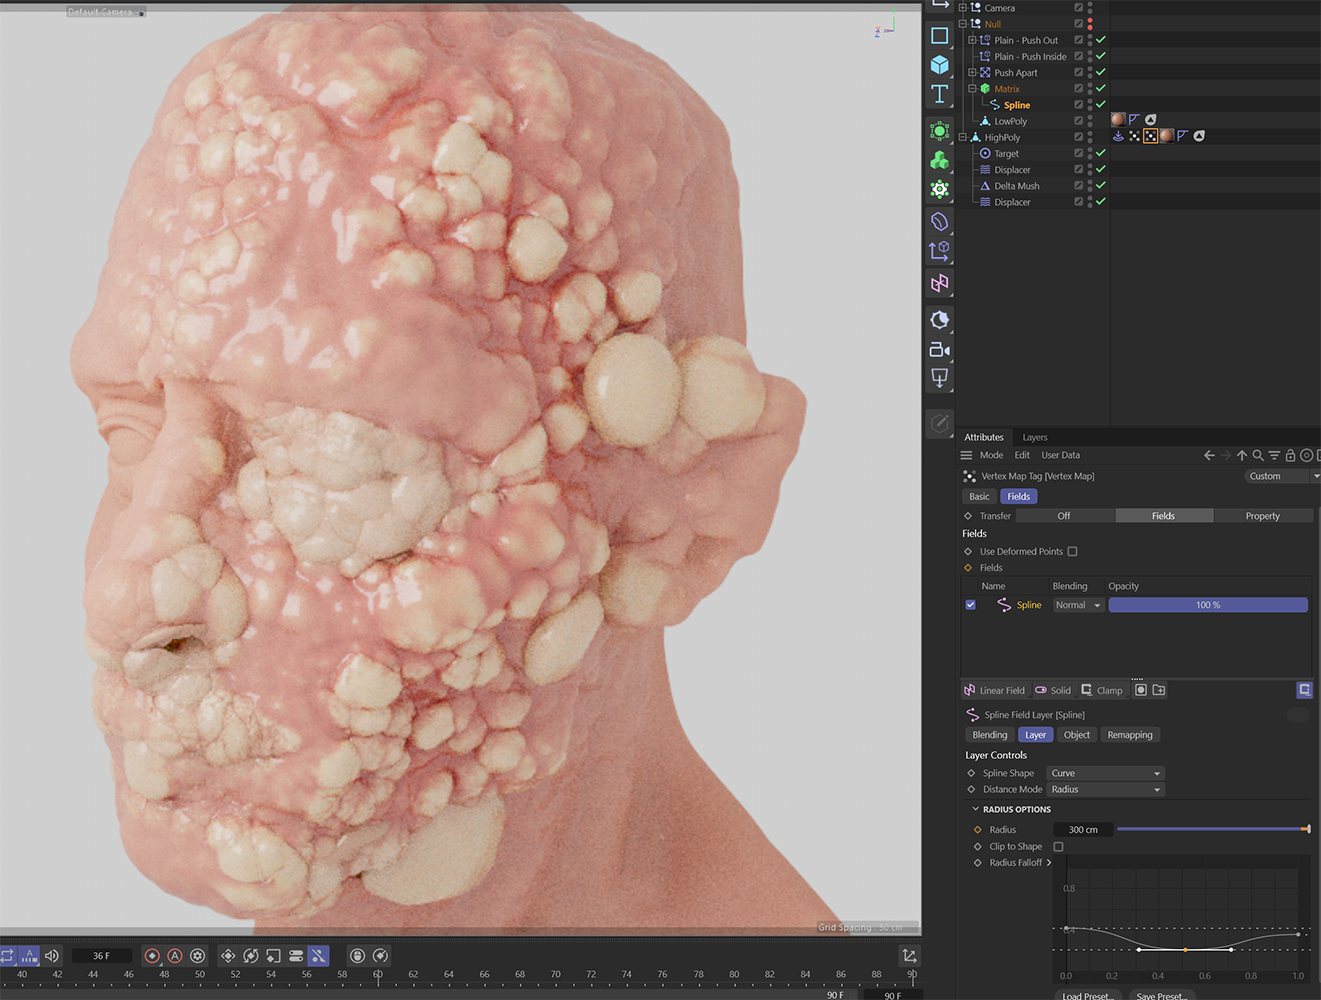
The challenge today was to make randomized pustules. The pustules are made with a matrix and controlled by a spline mask. In theory, the spline can be keyframed to move the pathology around. It also can be on an entire object, and randomized through a noise map. There is a bit of “growth” through noise on this render as well.
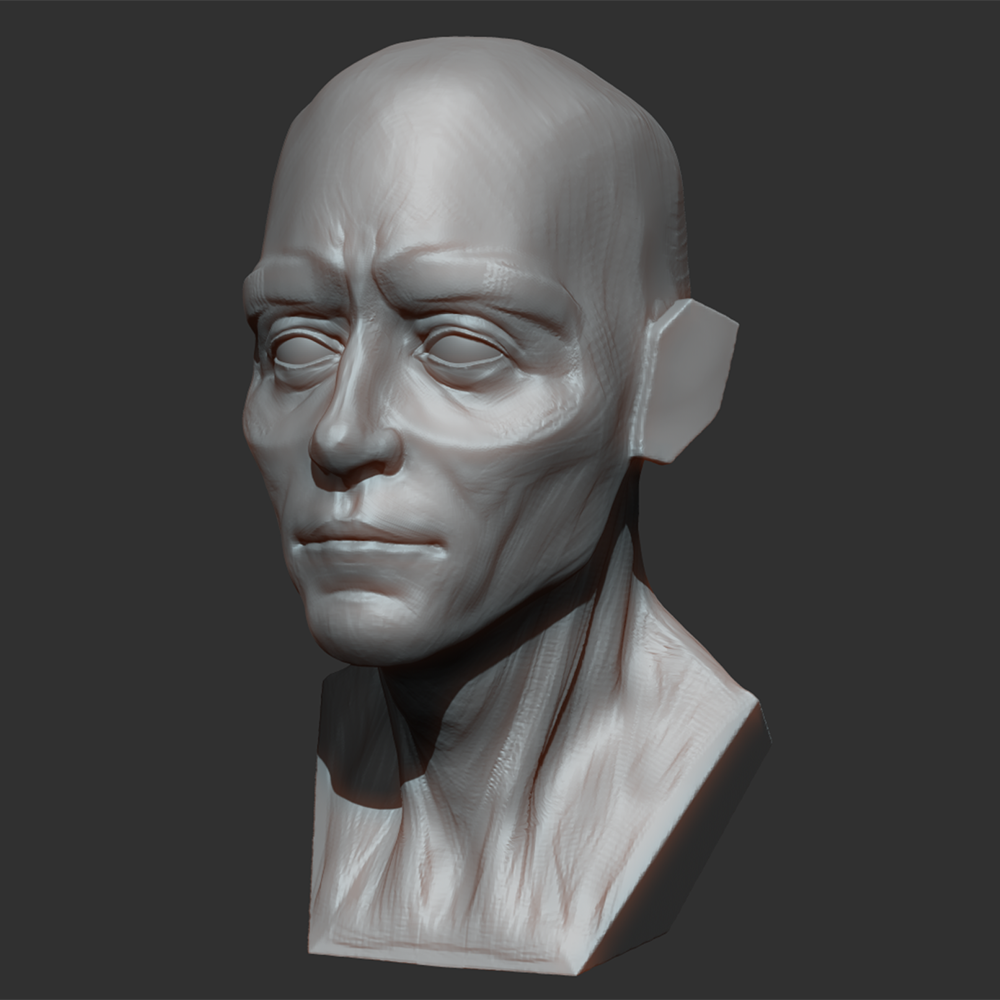
I roughly sculpted a face as a warm-up for the morning! Made in ZBrush. I didn’t bother with Polypaint or adding too much detail. I love sending rougher sculpts over to Cinema4D because it smooths out most of the surface texture anyway.
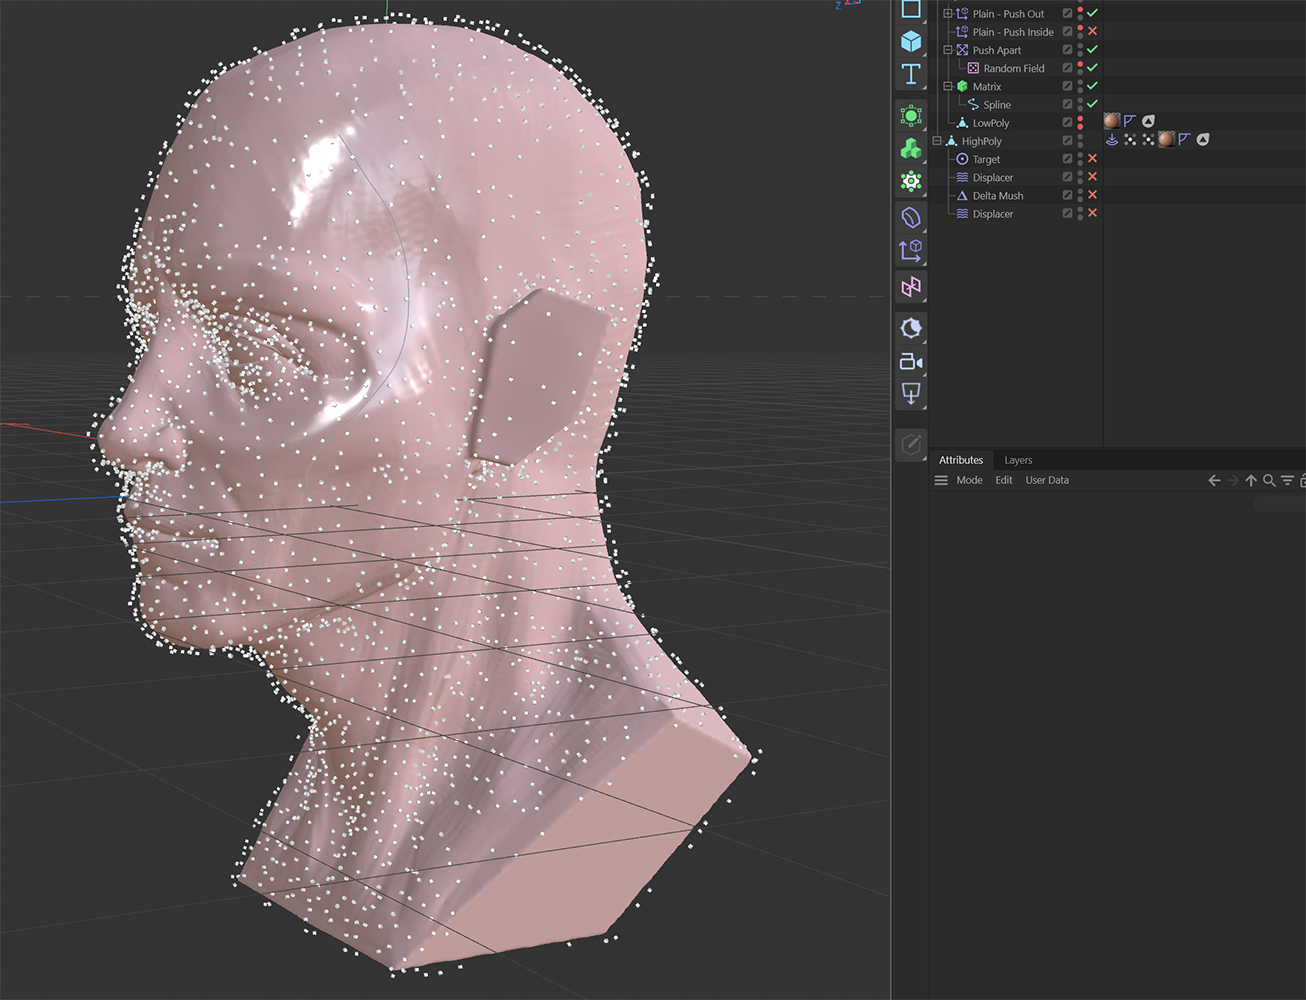
I used a decimated version of the head mesh to define where the Matrix points originated, specifically on the vertices. I considered sourcing the Matrix points from the spine, but even with added randomization, the distribution didn’t feel as organic. Using the surface points from the head gave me a more natural spread.
Same technique but on a sphere.
I could use the entire mesh and have it boil like this demo on a sphere, but I wanted it to be more specific to an area.
The matrix node provided a source for a target displacer, which was then reduced by the spline mask.
Since the mask is controlled by the spline, I can change the fallout curve, fallout amount, or the shape of the spline to grow or shrink the pathology!
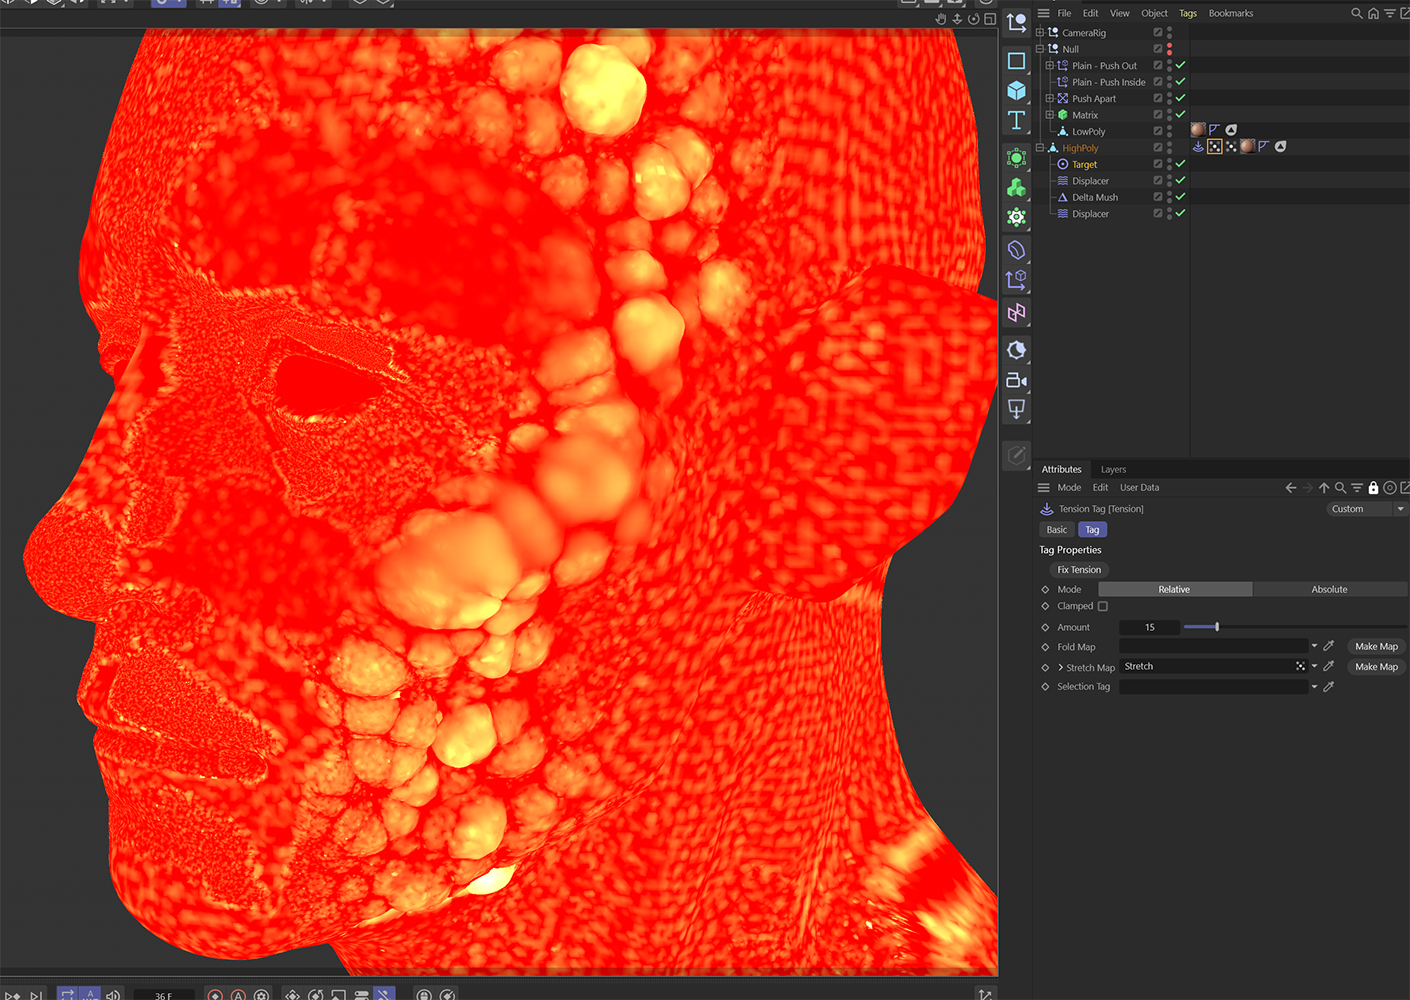
I didn’t spend too much time on the texture, since my GPU struggles a bit with Redshift now that I’m no longer on one of the newer Mac Studios. That said, I did want to highlight the use of the Tension Tag and Stretch Map. These dynamically adapt a Vertex Map based on areas of the mesh that have been stretched by the procedural nodes, allowing me to mask and texture the pathologic region.

