Video available on YouTube
Heinz Bodies and the Spleen
Client
David Rini
Year
2023
Media
Cinema4D, ZBrush, Redshift, AfterEffects
Description
This 3D animation explores the lifecycle of Heinz bodies, abnormal red blood cells created by oxidative damage from toxins in allium plants like onions and garlic. These damaged cells are cleared by macrophages in the spleen, which recycle their components. While the spleen effectively manages this process, excessive toxin exposure can lead to health issues like oxidative hemolytic anemia.
Special thanks to Norm Barker for the use of his studio and video equipment.
Planning the Animation
I researched the causes of allium sickness in pets, focusing on the physiological pathways of Heinz body development. This involved exploring the formation of bite cells and the G6PD pathway.
To effectively present this information, I distilled my findings into essential content tailored for an audience curious about science, particularly veterinary students. I created an animatic using sketches and AfterEffects to finalize the timing of the scenes and voiceover.
Animatic illustrated in Photoshop and animated in AfterEffects
Video Elements
Thanks to Norm Barker, the pathology photographer at Johns Hopkins Hospital, I obtained clear video footage of my dog, Cricket, which I then edited in AfterEffects to introduce the subject of the video.
Modelling
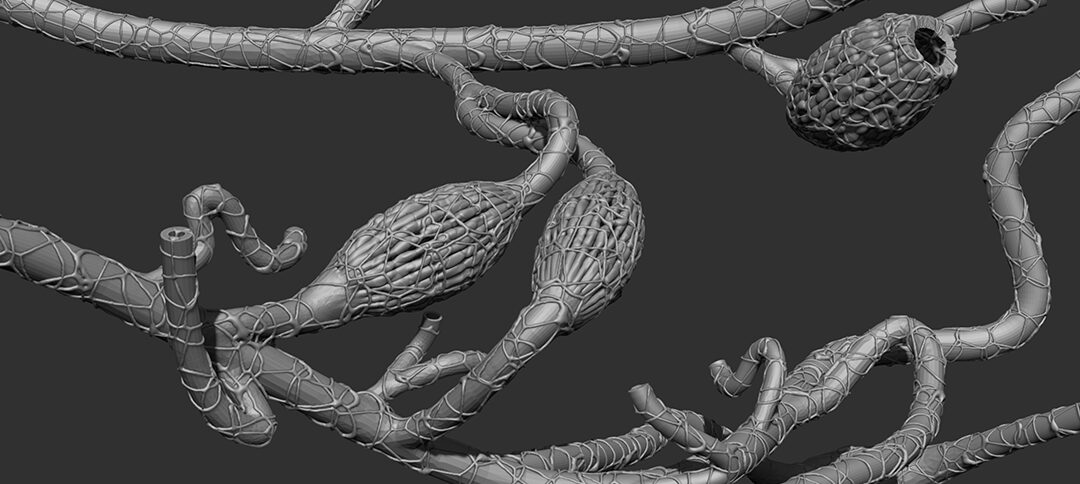
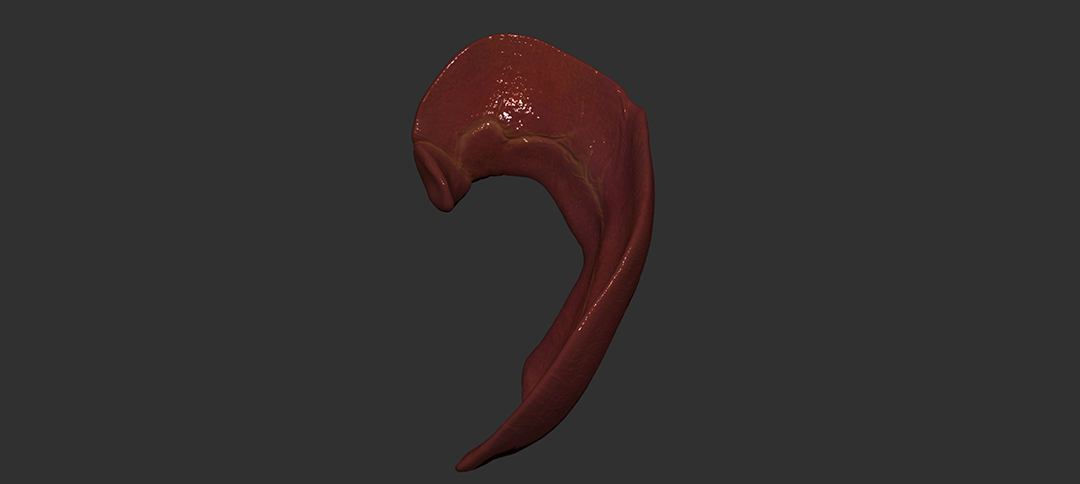
I created low-detail or small objects, such as the cells, in Cinema 4D. High-quality models like the spleen and sinusoid environment were sculpted in ZBrush, and I imported low-poly versions into Cinema 4D for animation, using normal maps to maintain detail. To ensure accuracy in the chemicals, I utilized ePMV along with chemical compounds from PubChem.
Animating
With the models in place, I animated the scenes using a combination of paths, fields, deformers, and keyframes.
Scene animated using paths and fields.
Testing
Then, I rendered a low-poly, low-resolution test to ensure everything was working as intended.
Low-poly test render for timing and movement.
Final Render and Compositing
Once I was satisfied with every detail, I crafted the lighting environment and designed custom materials for each object using Redshift nodes. I rendered the movie scene by scene, then brought it all together in After Effects. There, I enhanced the visuals with text and graphic elements, adding the finishing touches to create the final video!


